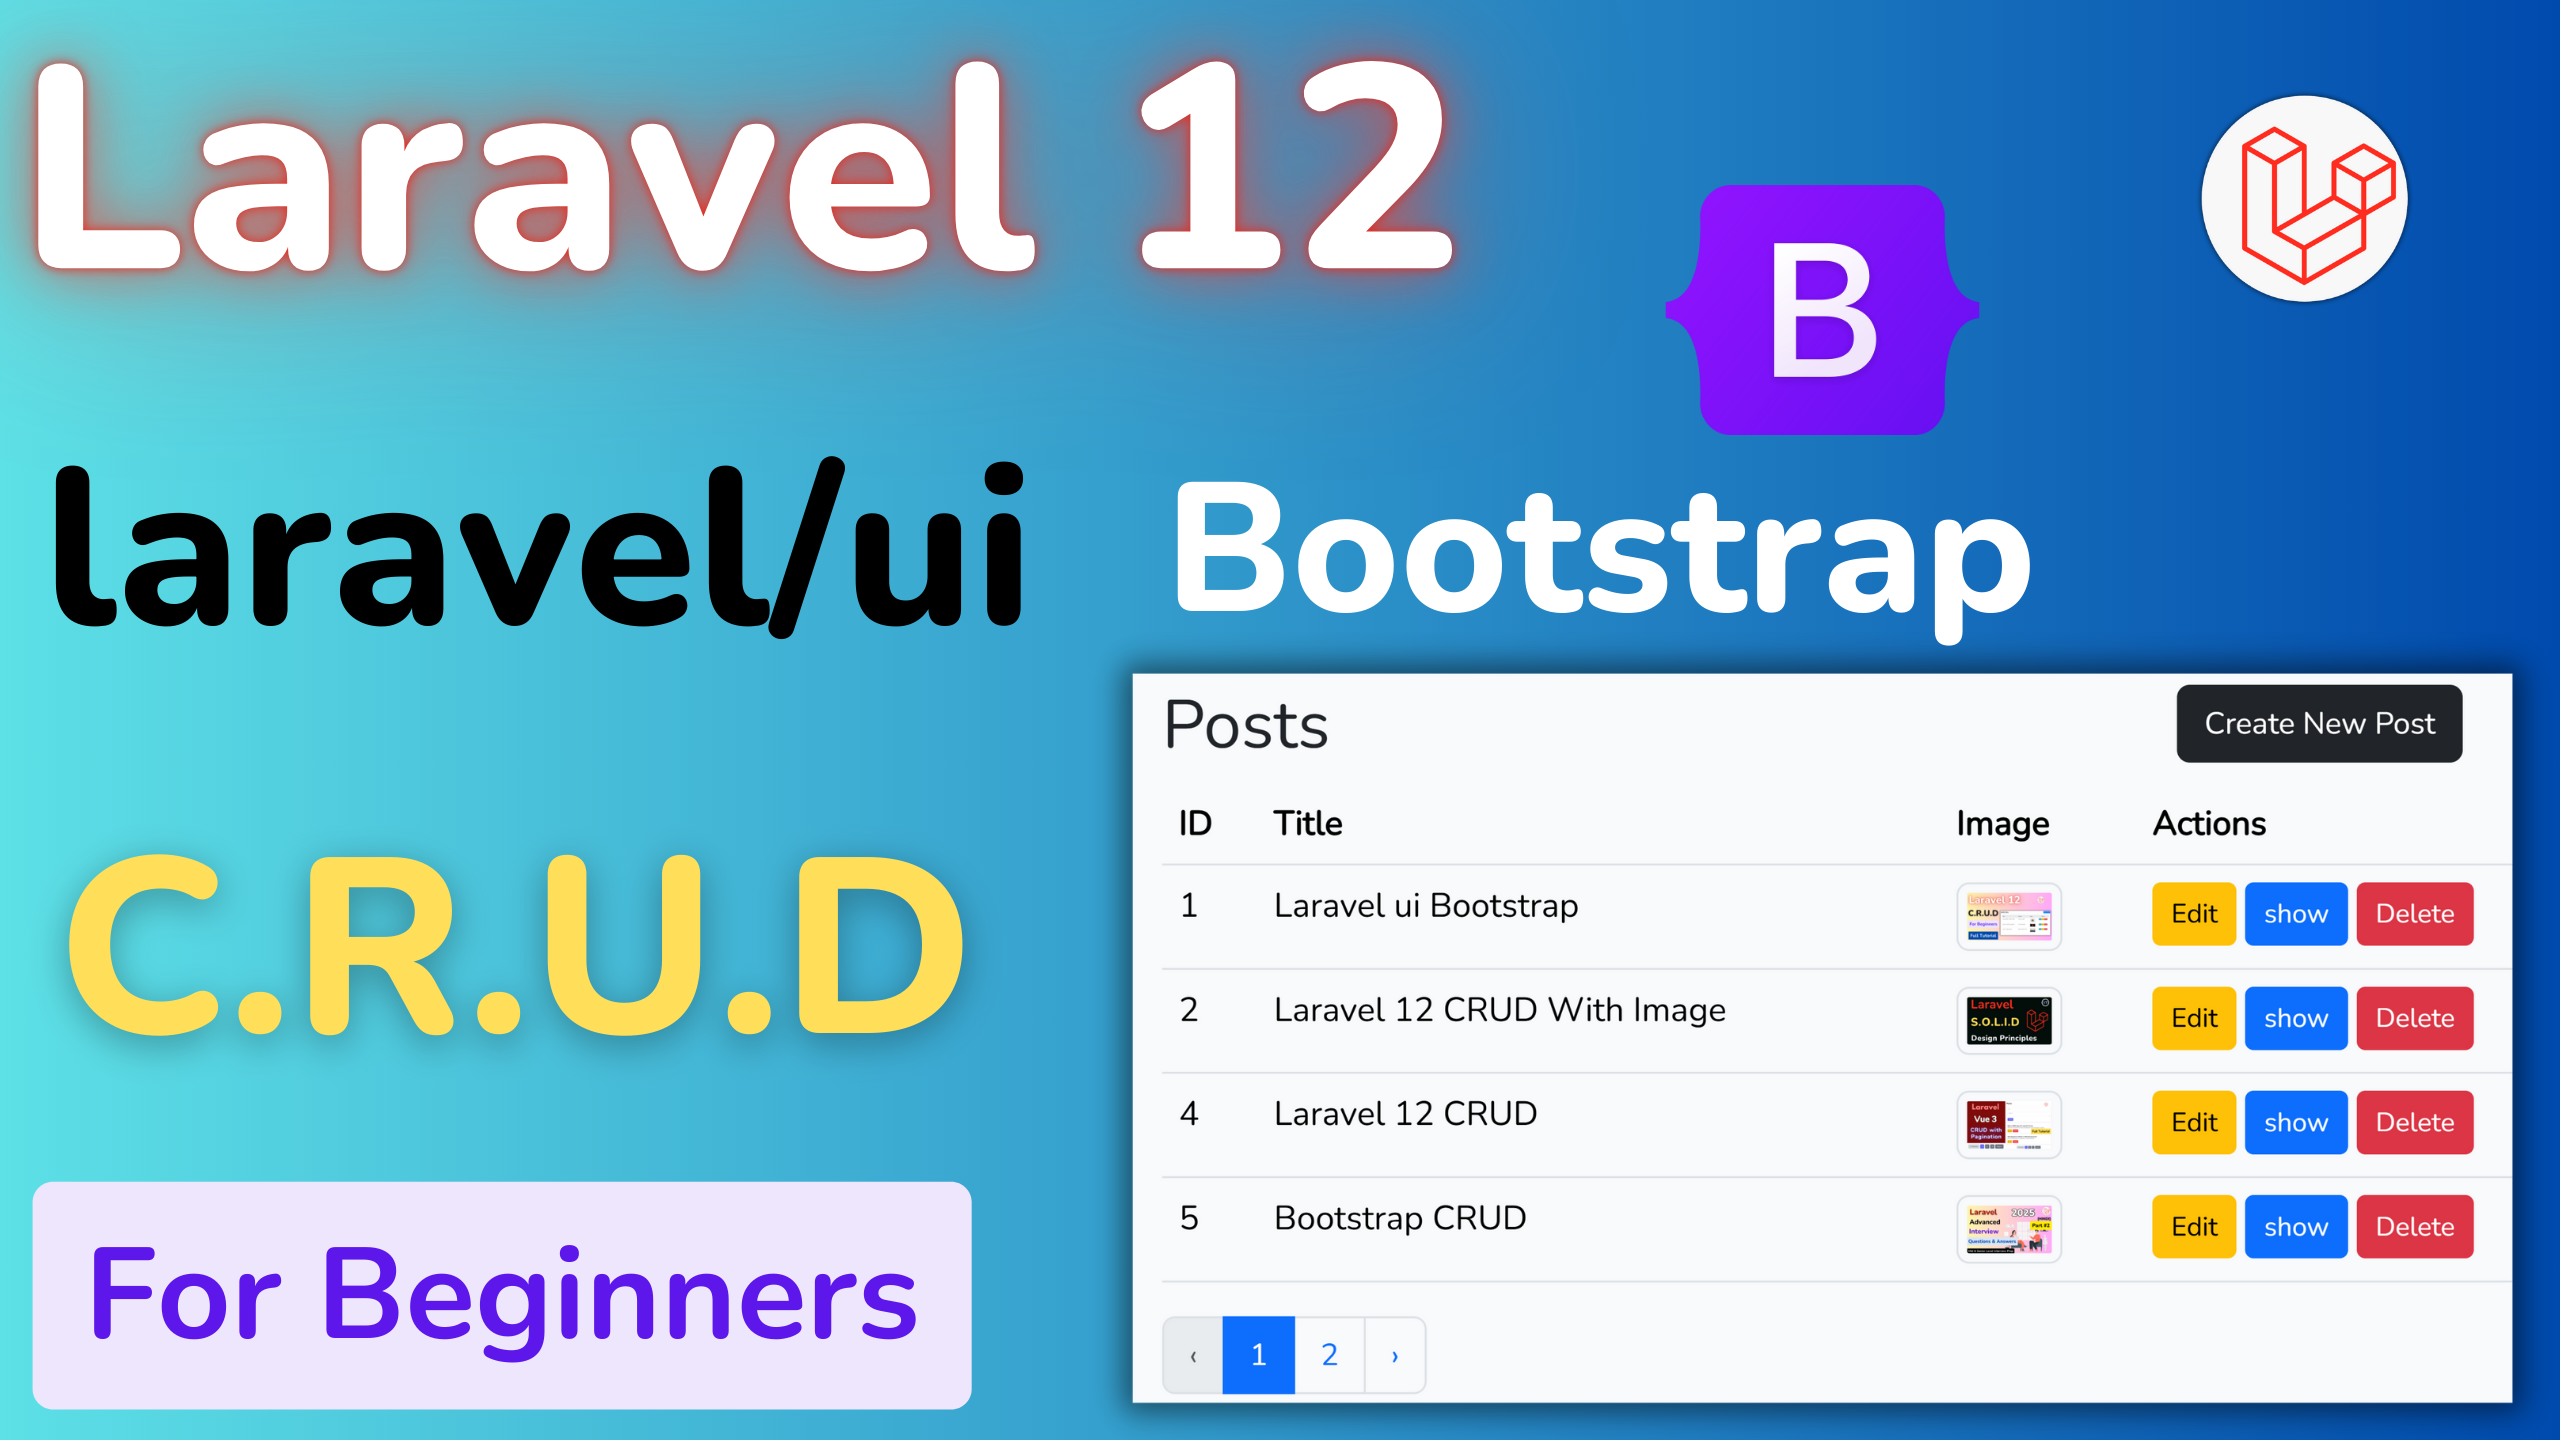
Laravel 12 Todo App Tutorial with Auth System (Beginner-Friendly Guide)

Kritim Yantra
Apr 27, 2025
In this step-by-step tutorial, we’ll build a Todo Application using Laravel 12 with a complete authentication system. This guide is perfect for beginners who want to learn Laravel by creating a real-world project.
By the end of this tutorial, you’ll have:
✅ A fully functional Todo App
✅ User registration & login system
✅ CRUD operations (Create, Read, Update, Delete tasks)
✅ Secure authentication using Laravel’s built-in Auth system
Let’s get started!
Prerequisites
Before we begin, make sure you have:
- PHP 8.2+
- Composer installed
- MySQL or any other database
- Basic understanding of PHP & MVC concepts
Step 1: Install Laravel 12
Open your terminal and run:
composer create-project laravel/laravel laravel-todo
cd laravel-todo
This will create a new Laravel project.
Step 2: Set Up Database
Open .env file and configure your database:
DB_CONNECTION=mysql
DB_HOST=127.0.0.1
DB_PORT=3306
DB_DATABASE=todo_app
DB_USERNAME=root
DB_PASSWORD=
Then, run:
php artisan migrate
Step 3: Install Laravel Auth
Laravel provides a built-in authentication system. Install it using:
composer require laravel/ui
php artisan ui bootstrap --auth
npm install && npm run dev
This will generate login, registration, and password reset views.
Step 4: Create Todo Model & Migration
Let’s create a Todo model and migration:
php artisan make:model Todo -m
Open the migration file (database/migrations/xxxx_create_todos_table.php) and update:
public function up()
{
    Schema::create('todos', function (Blueprint $table) {
        $table->id();
        $table->foreignId('user_id')->constrained()->onDelete('cascade');
        $table->string('task');
        $table->boolean('completed')->default(false);
        $table->timestamps();
    });
}
Run the migration:
php artisan migrate
Step 5: Define Model Relationships
In app/Models/User.php, add:
public function todos()
{
    return $this->hasMany(Todo::class);
}
In app/Models/Todo.php, add:
protected $fillable = ['task', 'completed'];

public function user()
{
    return $this->belongsTo(User::class);
}
Step 6: Create Todo Controller
Generate a controller:
php artisan make:controller TodoController --resource
Update app/Http/Controllers/TodoController.php:
use App\Models\Todo;
use Illuminate\Http\Request;
use Illuminate\Support\Facades\Auth;

class TodoController extends Controller
{
    public function index()
    {
        $todos = Auth::user()->todos;
        return view('todos.index', compact('todos'));
    }

    public function store(Request $request)
    {
        $request->validate(['task' => 'required|string|max:255']);

        Auth::user()->todos()->create($request->all());
        return redirect()->route('todos.index');
    }

    public function update(Request $request, Todo $todo)
    {
        $todo->update(['completed' => $request->has('completed')]);
        return redirect()->route('todos.index');
    }

    public function destroy(Todo $todo)
    {
        $todo->delete();
        return redirect()->route('todos.index');
    }
}
Step 7: Create Todo Views
Create a new folder resources/views/todos and add:
1. index.blade.php (Main Todo List)
@extends('layouts.app')

@section('content')
<div class="container">
    <h1 class="my-4">Your Todo List</h1>

    <form action="{{ route('todos.store') }}" method="POST" class="mb-4">
        @csrf
        <div class="input-group">
            <input type="text" name="task" class="form-control" placeholder="Add a new task..." required>
            <button type="submit" class="btn btn-primary">Add</button>
        </div>
    </form>

    <ul class="list-group">
        @foreach($todos as $todo)
        <li class="list-group-item d-flex justify-content-between align-items-center">
            <div>
                <input type="checkbox" onchange="this.form.submit()" {{ $todo->completed ? 'checked' : '' }}>
                <span class="{{ $todo->completed ? 'text-decoration-line-through' : '' }}">{{ $todo->task }}</span>
            </div>
            <form action="{{ route('todos.destroy', $todo) }}" method="POST">
                @csrf @method('DELETE')
                <button type="submit" class="btn btn-danger btn-sm">Delete</button>
            </form>
        </li>
        @endforeach
    </ul>
</div>
@endsection
Step 8: Define Routes
Update routes/web.php:
use App\Http\Controllers\TodoController;

Auth::routes();

Route::middleware('auth')->group(function () {
    Route::resource('todos', TodoController::class)->except(['show', 'edit']);
    Route::get('/home', [App\Http\Controllers\HomeController::class, 'index'])->name('home');
    Route::get('/', function () {
        return redirect()->route('todos.index');
    });
});
Step 9: Test the Application
Run the app:
php artisan serve
Visit http://localhost:8000 and:
🔹 Register a new user
🔹 Add, complete, and delete tasks
Conclusion
Congratulations! 🎉 You’ve built a Laravel 12 Todo App with Authentication.
What You Learned:
✔ Laravel setup & authentication
✔ Database migrations & relationships
✔ CRUD operations with Eloquent
✔ Blade templating
Next Steps:
🔸 Add due dates to tasks
🔸 Implement categories for todos
🔸 Deploy to Heroku or Laravel Forge
If you enjoyed this tutorial, share it with others! 🚀
Happy Coding! 💻🔥
Related Posts

Complete Laravel 12 CRUD Guide: Using Laravel UI, Bootstrap & Blade

Kritim Yantra
Laravel 12 Advanced Interview Questions and Answers
Laravel 12 Gates and Policies Explained: Best Practices & Examples
Laravel 12 Gates and Policies Explained: Best Practices & Examples

Kritim Yantra
Afu Manan
Apr 30, 2025 04:26 AM
Kritim Yantra
Apr 30, 2025 03:25 PM