Complete Laravel 12 CRUD Guide: Using Laravel UI, Bootstrap & Blade
Kritim Yantra
Mar 09, 2025
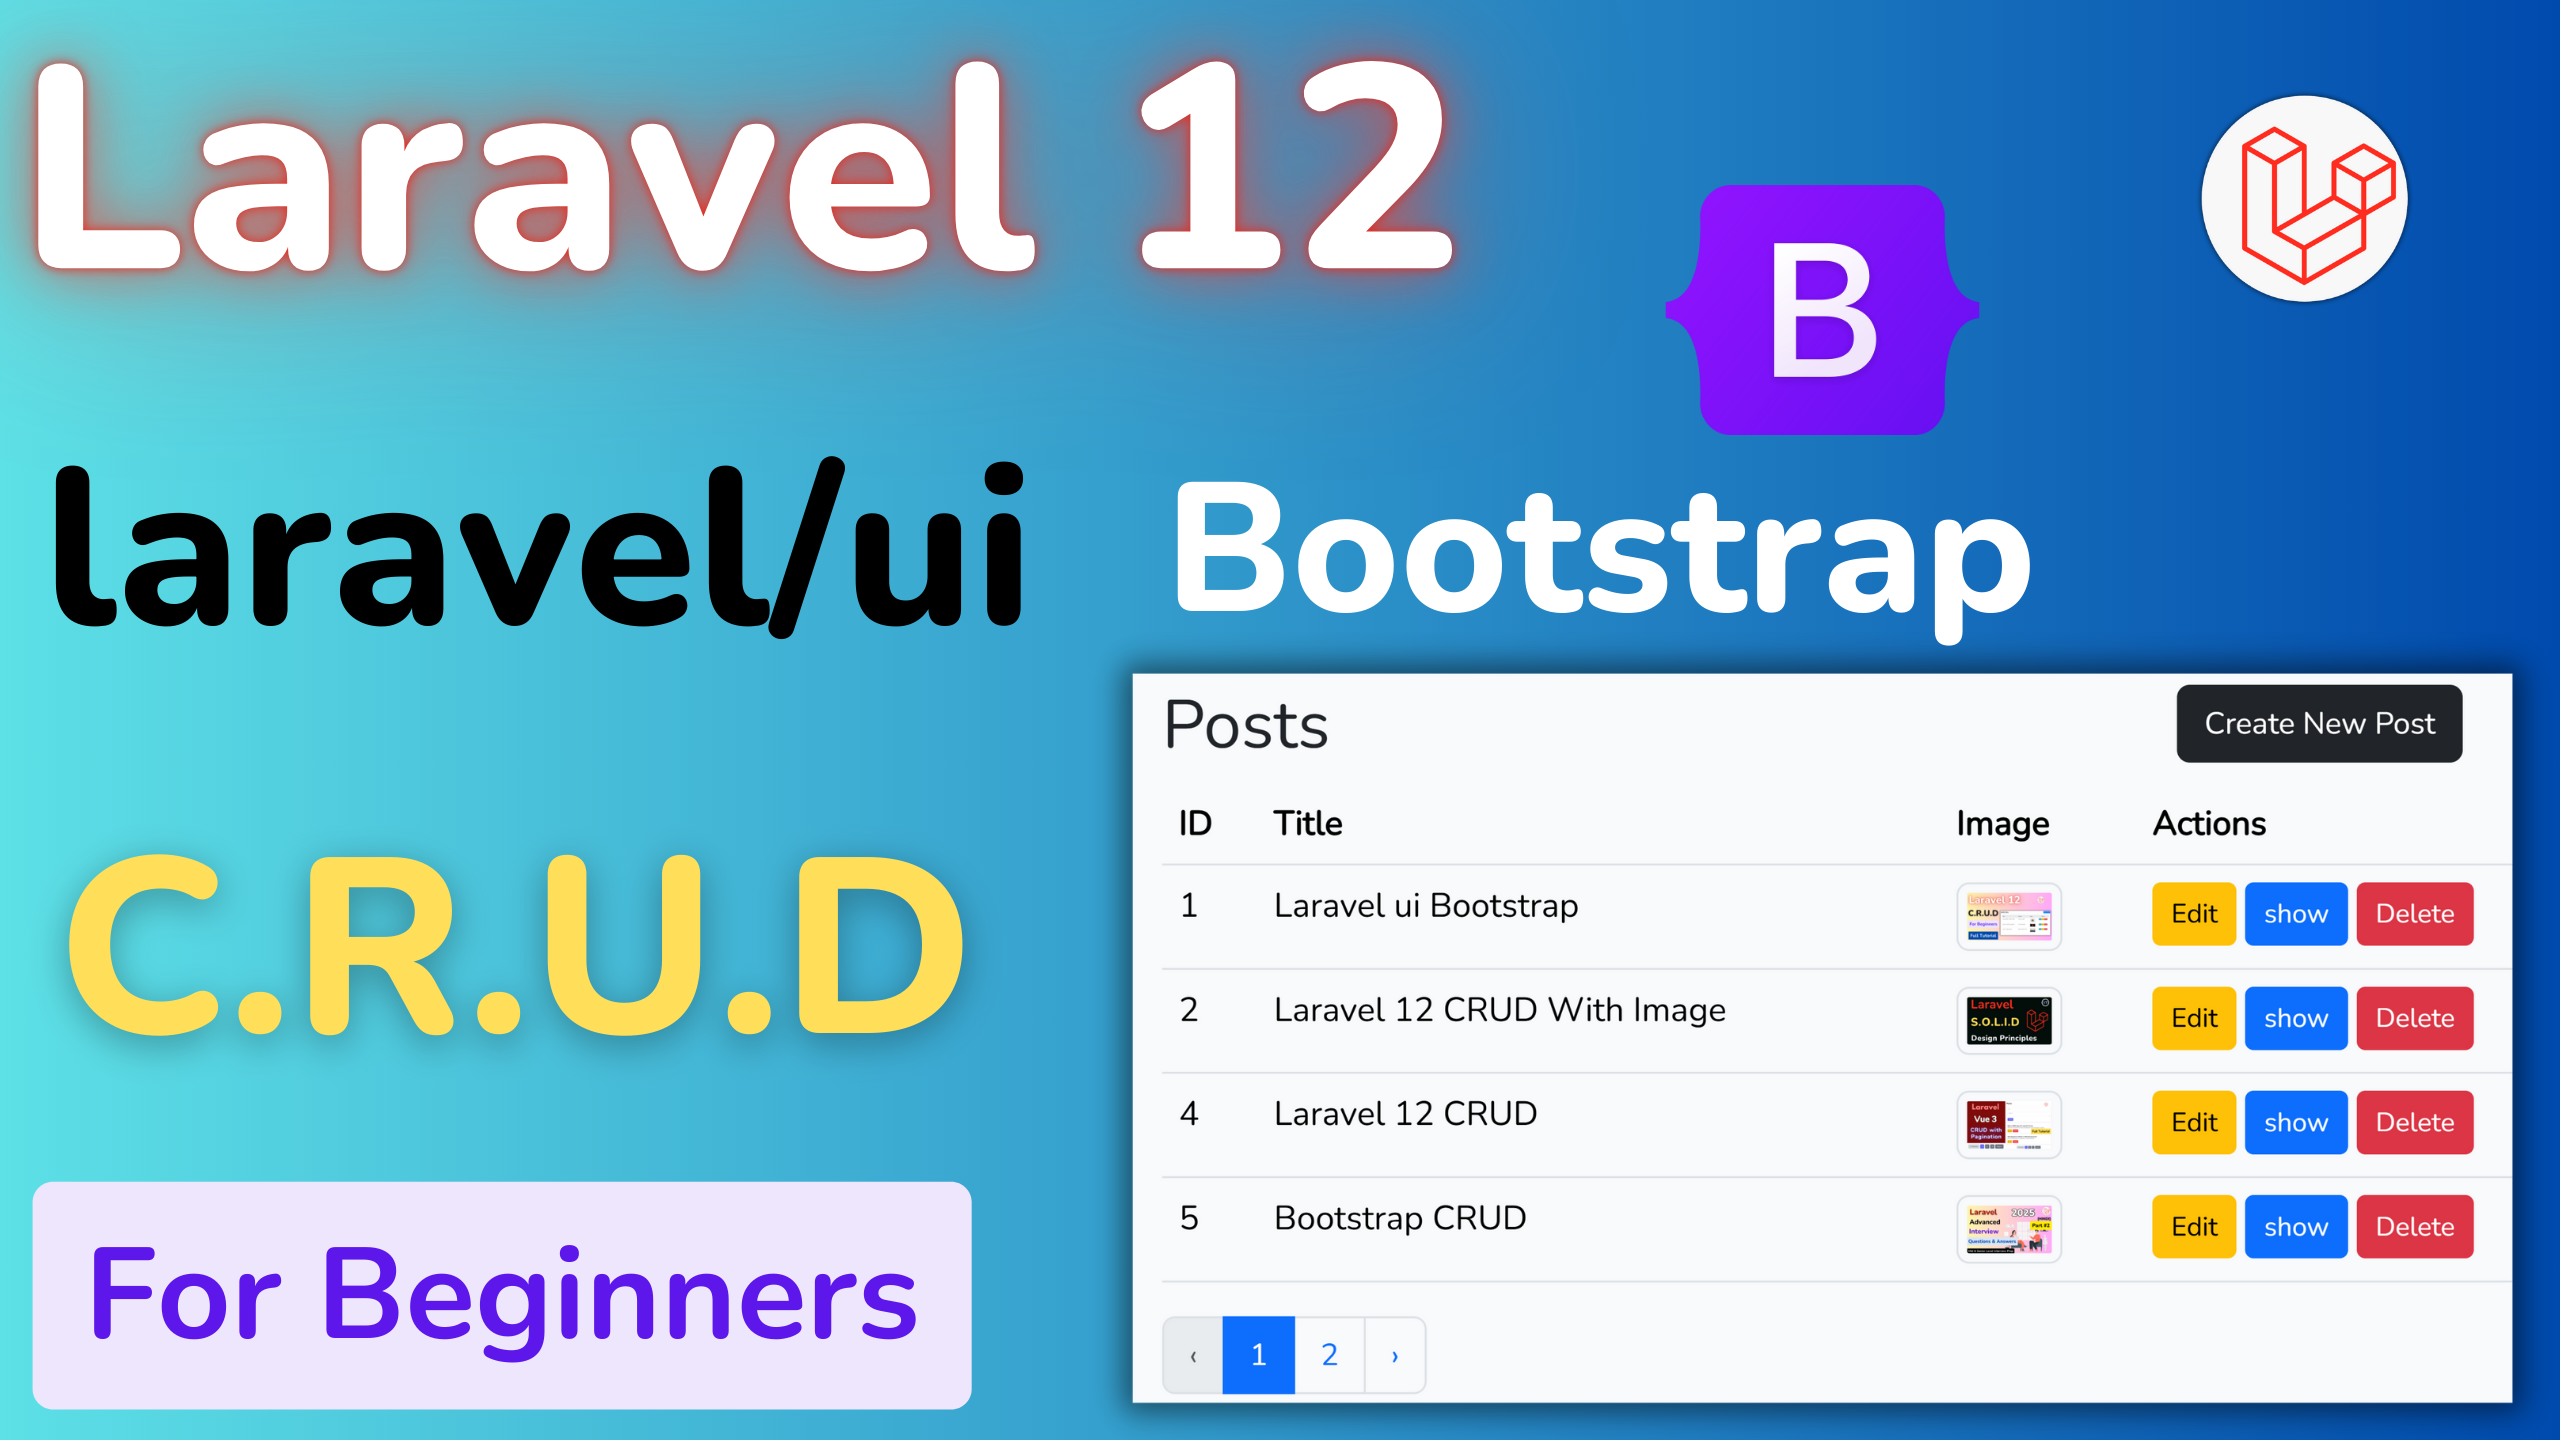
In this comprehensive blog post, we'll walk through the process of creating a full CRUD (Create, Read, Update, Delete) application in Laravel 12 using the Laravel UI package. We'll utilize Bootstrap for styling and Blade templates for our views, and we’ll include image handling as part of the CRUD operations.
This guide assumes Laravel 12 is available; if it’s not released at the time of reading, the steps should be largely compatible with the latest Laravel version, with minor adjustments as needed. Let's dive in with detailed steps and code examples.
What is CRUD?
CRUD stands for Create, Read, Update, and Delete—the four fundamental operations for managing data in a database. In this example, we'll build a system to manage "Posts," allowing users to create new posts, view a list or individual post, update existing posts, and delete them. We’ll enhance this functionality by adding image uploads to make the application more practical.
Prerequisites
Before we begin, ensure you have the following installed:
- PHP (version compatible with Laravel 12)
- Composer (for managing PHP dependencies)
- Node.js and npm (for compiling frontend assets)
- A database (e.g., MySQL, SQLite)
Step 1: Set Up a New Laravel Project
First, create a new Laravel 12 project using Composer. Open your terminal and run:
composer create-project --prefer-dist laravel/laravel blog "12.*"
This command installs Laravel 12 into a directory named blog. Navigate into the project directory:
cd blogStep 2: Install Laravel UI Package
The Laravel UI package provides a simple way to scaffold authentication views and install frontend presets like Bootstrap. Install it with:
composer require laravel/uiNext, scaffold the authentication system with Bootstrap:
php artisan ui bootstrap --authNow, compile the frontend assets by running:
npm install && npm run devStep 3: Create a Model and Migration
We'll create a Post model to represent our CRUD resource along with a migration to define the database table. Run:
php artisan make:model Post -m
This generates a Post model in app/Models and a migration file in database/migrations. Open the migration file (e.g., xxxx_xx_xx_create_posts_table.php) and define the schema:
<?php

use Illuminate\Database\Migrations\Migration;
use Illuminate\Database\Schema\Blueprint;
use Illuminate\Support\Facades\Schema;

return new class extends Migration {
    public function up()
    {
        Schema::create('posts', function (Blueprint $table) {
            $table->id();
            $table->string('title');
            $table->text('content');
            $table->string('image')->nullable(); // Image path; nullable if no image is uploaded
            $table->timestamps();
        });
    }

    public function down()
    {
        Schema::dropIfExists('posts');
    }
};
Step 4: Configure and Set Up the Database
Edit your .env file to configure your database connection. For example, with MySQL:
DB_CONNECTION=mysql
DB_HOST=127.0.0.1
DB_PORT=3306
DB_DATABASE=blog
DB_USERNAME=root
DB_PASSWORD=
Then run the migrations to create the posts table (and the authentication tables):
php artisan migrateStep 5: Create a Resource Controller
Generate a resource controller for Post to handle CRUD operations:
php artisan make:controller PostController --resourceStep 6: Define Routes
Open routes/web.php and define routes for the CRUD operations. We'll make the index and show routes public, while requiring authentication for creating, editing, updating, and deleting posts:
<?php
use App\Http\Controllers\PostController;
use Illuminate\Support\Facades\Route;

Route::get('/', function () {
    return view('welcome');
});

Route::get('/posts',[PostController::class,'index'])->name('posts.index');
Route::get('/posts/create',[PostController::class,'create'])->name('posts.create');
Route::post('/posts/store',[PostController::class,'store'])->name('posts.store');
Route::get('/posts/{post}/edit',[PostController::class,'edit'])->name('posts.edit');
Route::put('/posts/{post}/update',[PostController::class,'update'])->name('posts.update');


Route::get('/posts/{post}/show',[PostController::class,'show'])->name('posts.show');
Route::delete('/posts/{post}/destroy',[PostController::class,'destroy'])->name('posts.destroy');
Step 7: Create Blade Views
Create Blade templates in resources/views/posts to manage the UI. Laravel UI provides a default layout at resources/views/layouts/app.blade.php.
Index View (index.blade.php)
<!-- resources/views/posts/index.blade.php -->
@extends('layouts.app')

@section('content')
  <div class="container">
    <div class="row">
      <div class="col-sm-8">
        <h1>Posts</h1>
      </div>
      <div class="col-sm-4">
        <a href="{{ route('posts.create') }}" class="btn btn-dark">Create New Post</a>
      </div>
    </div>
    <table class="table">
      <thead>
        <tr>
          <th>ID</th>
          <th>Title</th>
          <th>Image</th>
          <th>Actions</th>
        </tr>
      </thead>
      <tbody>
        @foreach ($posts as $post)
          <tr>
            <td>{{ $post->id }}</td>
            <td>{{ $post->title }}</td>
            <td>
              @if($post->image)
                <img src="{{ asset('storage/'. $post->image) }}" class="img img-thumbnail" width="50" />
              @else
                No Image
              @endif
            </td>
            <td>
              <a href="{{ route('posts.edit', $post->id) }}" class="btn btn-warning btn-sm">Edit</a>
              <a href="{{ route('posts.show', $post->id) }}" class="btn btn-primary btn-sm">Show</a>
              <form action="{{ route('posts.destroy', $post->id) }}" method="POST" style="display:inline">
                @csrf
                @method('DELETE')
                <button type="submit" class="btn btn-danger btn-sm" onclick="return confirm('Are you sure?')">Delete</button>
              </form>
            </td>
          </tr>
        @endforeach
      </tbody>
    </table>
    {{ $posts->links() }}
  </div>
@endsection
Create View (create.blade.php)
<!-- resources/views/posts/create.blade.php -->
@extends('layouts.app')

@section('content')
  <div class="container">
    <h1>New Post</h1>
    <form action="{{ route('posts.store') }}" method="POST" enctype="multipart/form-data">
      @csrf
      <div class="form-group mb-3">
        <label for="title">Title</label>
        <input type="text" name="title" class="form-control" value="{{ old('title') }}" />
        @error('title')
          <div class="text-danger">{{ $message }}</div>
        @enderror
      </div>
      <div class="form-group mb-3">
        <label for="content">Content</label>
        <textarea rows="3" class="form-control" name="content">{{ old('content') }}</textarea>
        @error('content')
          <div class="text-danger">{{ $message }}</div>
        @enderror
      </div>
      <div class="form-group mb-3">
        <label for="image">Image</label>
        <input type="file" class="form-control" name="image" />
        @error('image')
          <div class="text-danger">{{ $message }}</div>
        @enderror
      </div>
      <button type="submit" class="btn btn-dark">Create Post</button>
      <a href="{{ route('posts.index') }}" class="btn btn-secondary">Back to List</a>
    </form>
  </div>
@endsection
Show View (show.blade.php)
<!-- resources/views/posts/show.blade.php -->
@extends('layouts.app')

@section('content')
  <div class="container">
    <h1>{{ $post->title }}</h1>
    <p>{{ $post->content }}</p>
    @if($post->image)
      <img src="{{ asset('storage/'. $post->image) }}" class="img img-thumbnail mt-3" width="100" />
    @endif
    <a href="{{ route('posts.index') }}" class="btn btn-secondary">Back to List</a>
  </div>
@endsection
Edit View (edit.blade.php)
<!-- resources/views/posts/edit.blade.php -->
@extends('layouts.app')

@section('content')
  <div class="container">
    <h1>Edit Post</h1>
    <form action="{{ route('posts.update', $post->id) }}" method="POST" enctype="multipart/form-data">
      @csrf
      @method('PUT')
      <div class="form-group mb-3">
        <label for="title">Title</label>
        <input type="text" name="title" class="form-control" value="{{ old('title', $post->title) }}" />
        @error('title')
          <div class="text-danger">{{ $message }}</div>
        @enderror
      </div>
      <div class="form-group mb-3">
        <label for="content">Content</label>
        <textarea rows="3" class="form-control" name="content">{{ old('content', $post->content) }}</textarea>
        @error('content')
          <div class="text-danger">{{ $message }}</div>
        @enderror
      </div>
      <div class="form-group mb-3">
        <label for="image">Image</label>
        <input type="file" class="form-control" name="image" />
        @if($post->image)
          <img src="{{ asset('storage/'. $post->image) }}" class="img img-thumbnail mt-3" width="100" />
        @endif
        @error('image')
          <div class="text-danger">{{ $message }}</div>
        @enderror
      </div>
      <button type="submit" class="btn btn-dark">Update Post</button>
      <a href="{{ route('posts.index') }}" class="btn btn-secondary">Back to List</a>
    </form>
  </div>
@endsection
Step 8: Implement the Controller Logic
Update app/Http/Controllers/PostController.php with the CRUD logic and image handling:
<?php

namespace App\Http\Controllers;

use App\Models\Post;
use Illuminate\Http\Request;
use Illuminate\Support\Facades\Storage;

class PostController extends Controller
{
    public function index()
    {
        $posts = Post::paginate(4);
        return view('posts.index', ['posts' => $posts]);
    }

    public function create()
    {
        return view('posts.create');
    }

    public function store(Request $request)
    {
        $validated = $request->validate([
            'title'   => 'required|string|max:255',
            'content' => 'required',
            'image'   => 'nullable|image|mimes:jpeg,png,jpg,gif|max:2048'
        ]);

        $data = $validated;
        if ($request->hasFile('image')) {
            $imagePath = $request->file('image')->store('posts','public');
            $data['image'] = $imagePath;
        } else {
            unset($data['image']);
        }

        Post::create($data);

        return redirect()->route('posts.index')->with('success','Post created successfully!!!');
    }

    public function show(Post $post)
    {
        return view('posts.show', ['post' => $post]);
    }

    public function edit(Post $post)
    {
        return view('posts.edit', ['post' => $post]);
    }

    public function update(Request $request, Post $post)
    {
        $validated = $request->validate([
            'title'   => 'required|string|max:255',
            'content' => 'required',
            'image'   => 'nullable|image|mimes:jpeg,png,jpg,gif|max:2048'
        ]);

        $data = $validated;
        if ($request->hasFile('image')) {
            if ($post->image) {
                Storage::disk('public')->delete($post->image);
            }
            $imagePath = $request->file('image')->store('posts','public');
            $data['image'] = $imagePath;
        } else {
            unset($data['image']);
        }

        $post->update($data);

        return redirect()->route('posts.index')->with('success','Post updated successfully!!!');
    }

    public function destroy(Post $post)
    {
        if ($post->image) {
            Storage::disk('public')->delete($post->image);
        }
        $post->delete();
        return redirect()->route('posts.index')->with('success','Post deleted successfully!!!');
    }
}
Update the Post model (app/Models/Post.php) to allow mass assignment:
<?php

namespace App\Models;

use Illuminate\Database\Eloquent\Model;

class Post extends Model
{
    protected $fillable = ['title', 'content', 'image'];
}
Step 9: Handle Image Storage
Laravel stores uploaded files in storage/app/public. To make images publicly accessible, create a symbolic link by running:
php artisan storage:link
This links public/storage to storage/app/public, allowing images to be served via URLs like storage/posts/your-image.jpg.
Step 10: Test the Application
Start the server by running:
php artisan serve
Visit http://localhost:8000 in your browser, register and log in using the authentication system provided by Laravel UI, and test the CRUD operations:
- Create a post with and without an image.
- View the post list and individual posts.
- Edit a post, updating the image or leaving it unchanged.
- Delete a post and verify that the image is removed from storage.
Conclusion
In this blog post, we built a complete CRUD application in Laravel 12 using the Laravel UI package. We integrated Bootstrap for responsive styling and Blade templates for dynamic views, and we added image handling to enhance functionality.
Key takeaways include:
- Setting up Laravel 12 and Laravel UI with Bootstrap.
- Creating a Post model with migrations.
- Implementing a resource controller with image upload logic.
- Defining routes with authentication middleware.
- Designing Blade views with Bootstrap and validation feedback.
- Managing file storage with Laravel’s filesystem.
This application serves as a solid foundation for more complex projects. Feel free to extend it by adding features like pagination, user-specific posts, or additional validation rules.
Happy coding!
Comments
No comments yet. Be the first to comment!
Please log in to post a comment:
Sign in with GoogleRelated Posts
Laravel 12 Unleashed: Early Insights & What Lies Ahead
Kritim Yantra
Laravel 12 API Security Best Practices – A Beginner-Friendly Guide
Laravel 12 API Security Best Practices – A Beginner-Friendly Guide
Kritim Yantra
Top 10 Essential Laravel 12 Packages for Your Next Project
Kritim Yantra