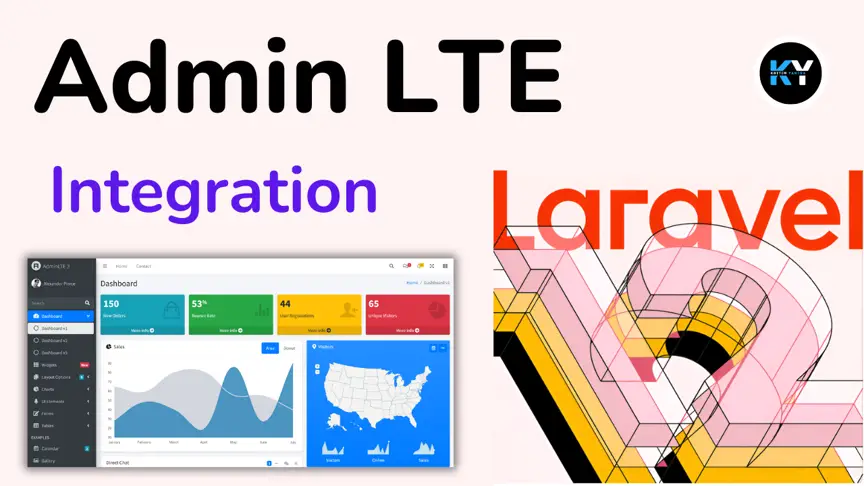
Advanced Integration of AdminLTE in Laravel 12 – Customization, Plugins, and Best Practices
Kritim Yantra
Apr 08, 2025
In Part 1, we covered the basics of integrating AdminLTE into a Laravel 12 project. Now, let’s dive deeper! In this follow-up guide, we’ll explore advanced customization, plugin integration, role-based access control, and production optimizations to build a robust, enterprise-ready admin panel.
Step 1: Advanced AdminLTE Configuration
1.1 Customizing the Layout
AdminLTE’s default layout can be overridden to match your brand. Modify the master layout by copying the default file to your resources/views/layouts directory:
cp resources/views/vendor/adminlte/master.blade.php resources/views/layouts/adminlte.blade.php
Update config/adminlte.php to use your custom layout:
'layout' => 'layouts.adminlte',
Now, edit adminlte.blade.php to add custom headers, footers, or scripts.
1.2 Dark Mode Support
AdminLTE 3 supports dark mode. Enable it via the config:
'classes_body' => 'dark-mode', // Force dark mode
Or toggle dynamically using JavaScript in your layout file:
document.getElementById('darkModeToggle').addEventListener('click', () => {
    document.body.classList.toggle('dark-mode');
});
Step 2: Integrating Laravel Authentication
2.1 Scaffolding Auth Views with AdminLTE
The jeroennoten/laravel-adminlte package provides pre-built auth views. Scaffold them using:
php artisan adminlte:install --only=auth
This replaces Laravel’s default auth views with AdminLTE-styled ones. Test registration/login at http://localhost:8000/register.
2.2 Customizing Auth Workflows
To redirect users to the AdminLTE dashboard after login, update app/Http/Controllers/Auth/LoginController.php:
protected $redirectTo = '/admin/dashboard';
Step 3: Adding Plugins and Interactive Components
3.1 DataTables Integration
AdminLTE supports DataTables for dynamic tables. Install the Laravel DataTables package:
composer require yajra/laravel-datatables-oracle
Example Usage in a Blade View:
<table id="users-table" class="table table-bordered table-striped">
    <thead>
        <tr>
            <th>ID</th>
            <th>Name</th>
            <th>Email</th>
        </tr>
    </thead>
</table>

@section('adminlte_js')
    @parent
    <script>
        $(document).ready(function() {
            $('#users-table').DataTable({
                processing: true,
                serverSide: true,
                ajax: '{{ route('admin.users.data') }}',
                columns: [
                    { data: 'id' },
                    { data: 'name' },
                    { data: 'email' }
                ]
            });
        });
    </script>
@stop
Create a route and controller to fetch data asynchronously.
3.2 Chart.js for Analytics
AdminLTE includes Chart.js. Add a chart to your dashboard:
In dashboard.blade.php:
<div class="card">
    <div class="card-header">
        <h3 class="card-title">Monthly Sales</h3>
    </div>
    <div class="card-body">
        <canvas id="salesChart"></canvas>
    </div>
</div>

@section('adminlte_js')
    @parent
    <script>
        const ctx = document.getElementById('salesChart').getContext('2d');
        new Chart(ctx, {
            type: 'line',
            data: {
                labels: ['Jan', 'Feb', 'Mar', 'Apr'],
                datasets: [{
                    label: 'Sales (USD)',
                    data: [1200, 1700, 800, 2000],
                    borderColor: 'rgb(75, 192, 192)',
                }]
            }
        });
    </script>
@stop
Step 4: Role-Based Access Control (RBAC)
4.1 Install Spatie Laravel-Permission
Manage roles and permissions using the popular spatie/laravel-permission package:
composer require spatie/laravel-permission
Publish migrations and run them:
php artisan vendor:publish --provider="Spatie\Permission\PermissionServiceProvider"
php artisan migrate
4.2 Assign Roles in Controllers
Restrict dashboard access to users with the admin role:
// In DashboardController.php
public function __construct()
{
    $this->middleware(['auth', 'role:admin']);
}
Customize the menu in config/adminlte.php based on roles:
'menu' => [
    [
        'text' => 'Dashboard',
        'url' => 'admin/dashboard',
        'icon' => 'fas fa-tachometer-alt',
        'can' => 'access admin dashboard' // Gates or permissions
    ],
],
Step 5: Production Optimization
5.1 Compiling Assets
AdminLTE uses npm packages. Install dependencies and compile assets for production:
npm install
npm run build
Add @vite() directives to your layout file to load compiled CSS/JS:
<!-- In adminlte.blade.php -->
@vite(['resources/sass/app.scss', 'resources/js/app.js'])
5.2 Caching Routes and Views
Optimize Laravel for production:
php artisan config:cache
php artisan route:cache
php artisan view:cache
Step 6: Customizing the Theme
6.1 Overriding AdminLTE SCSS Variables
Create a custom SCSS file at resources/sass/adminlte-custom.scss:
// Override primary color
$primary: #4a148c;

// Import AdminLTE source
@import '~admin-lte/build/scss/adminlte';
Update vite.config.js to include the file:
import { defineConfig } from 'vite';
import laravel from 'laravel-vite-plugin';

export default defineConfig({
    plugins: [
        laravel({
            input: [
                'resources/sass/app.scss',
                'resources/sass/adminlte-custom.scss', // Add this
                'resources/js/app.js',
            ],
            refresh: true,
        }),
    ],
});
Step 7: Deploying to Production
7.1 Environment-Specific Configuration
Update .env for production:
APP_ENV=production
APP_DEBUG=false
Ensure AdminLTE’s CDN assets are used if self-hosting isn’t feasible:
// In config/adminlte.php
'cdn' => [
    'enabled' => true,
    'url' => 'https://cdn.jsdelivr.net/npm/admin-lte@3.2/dist/',
],
Common Issues & Solutions
- Menu Not Updating: Clear config cache with
php artisan config:clear. - Slow Page Loads: Use
npm run prodfor minified assets and enable OPcache. - Permission Issues: Ensure the
storageandbootstrap/cachedirectories are writable.
Conclusion
You’ve now transformed your Laravel 12 + AdminLTE integration into a polished, production-ready admin panel. By adding plugins, role-based access, and performance optimizations, your dashboard is equipped to handle real-world demands. Keep exploring AdminLTE’s documentation for even more features like calendar widgets and advanced form controls.
What’s Next?
- Explore real-time features with Laravel Echo and WebSockets.
- Implement API endpoints for your admin panel using Laravel Sanctum.
- Set up automated testing with Laravel Dusk for UI interactions.
With these tools, your admin panel is ready to scale gracefully. Happy coding! 🚀
Comments
No comments yet. Be the first to comment!
Please log in to post a comment:
Sign in with GoogleRelated Posts
Laravel 12 & AdminLTE Integration: Setup Your Stunning Admin Dashboard
Kritim Yantra
Getting Started with Laravel Concurrency: A Beginner's Guide
Getting Started with Laravel Concurrency: A Beginner's Guide
Kritim Yantra
Understanding PHP 8.4: A Beginner's Guide with Real-World Applications
Understanding PHP 8.4: A Beginner's Guide with Real-World Applications
Kritim Yantra