
Next.js for Beginners: The Complete Guide to Building Your First App

That Overwhelming Feeling When Starting with Next.js 😅
Remember the first time you tried to build a React app? You got excited about components and state, only to hit a wall when you realized you needed routing, server-side rendering, and performance optimizations? I've been there too! That moment when you think, "There must be an easier way to build production-ready React apps..."
Well, there is! Next.js is like a superhero version of React that handles all the complex stuff for you. In this guide, I'll walk you through everything you need to know as a beginner—no jargon, just practical steps to build your first Next.js app with confidence.
What Exactly is Next.js? 🤔
Think of Next.js as React with batteries included. If React is a powerful engine, Next.js is the complete car with GPS, air conditioning, and cup holders already installed. It gives you:
- Built-in routing (no more React Router setup headaches)
- Server-side rendering out of the box (great for SEO)
- API routes so you can build full-stack apps
- Automatic code splitting for faster loading
- Easy deployment to Vercel (the creators of Next.js)
Here's a quick comparison:
| Feature | Plain React | Next.js |
|---|---|---|
| Routing | Needs React Router | Built-in |
| SSR | Manual setup | Automatic |
| API Routes | Need separate backend | Built-in |
| Image Optimization | Manual | Automatic |
| Deployment | Complex | One-click |
Setting Up Your First Next.js Project 💻
Let's get our hands dirty! Here's how to start:
- Open your terminal (I know, scary at first but trust me!)
- Run this command:
npx create-next-app@latest my-first-next-app
- Answer the setup questions (choose defaults if unsure)
- Navigate into your project:
cd my-first-next-app
- Start the development server:
npm run dev
🔥 Pro Tip: If you're new to terminal commands, just copy-paste these one at a time. No judgment here!
Understanding the Next.js Folder Structure 🗂️
When you open your project, you'll see these important folders:
my-first-next-app/
├── app/          # Your main application (new in Next.js 13+)
│   ├── page.js   # Your home page
├── public/       # Static files like images
├── node_modules/ # All dependencies (don't touch this)
└── package.json  # Project configuration
The magic happens in the app directory. Each folder inside app becomes a route in your app!
Creating Your First Page ✨
Let's modify the homepage. Open app/page.js and replace its content with:
export default function Home() {
  return (
    <main className="min-h-screen p-8">
      <h1 className="text-4xl font-bold mb-6">Welcome to My Next.js App!</h1>
      <p className="text-lg mb-4">
        I just built my first Next.js page. How cool is that? 🎉
      </p>
      <button className="bg-blue-500 text-white px-4 py-2 rounded hover:bg-blue-600">
        Click Me (I don't do anything yet!)
      </button>
    </main>
  );
}
Save the file and check your browser at http://localhost:3000. You should see your shiny new page!
Adding Navigation Between Pages ➡️
One of Next.js' best features is file-based routing. Want a new page? Just create a new folder!
- Create
app/about/page.js - Add this code:
export default function About() {
  return (
    <main className="min-h-screen p-8">
      <h1 className="text-4xl font-bold mb-6">About Us</h1>
      <p>We're learning Next.js together!</p>
    </main>
  );
}
Now visit http://localhost:3000/about - no routing setup needed!
To link between pages, use the Link component:
import Link from 'next/link';

// Add this to your Home component
<Link href="/about" className="text-blue-500 underline mt-4 block">
  Go to About Page
</Link>
Fetching Data in Next.js 🌐
Next.js makes data fetching incredibly easy. Let's fetch some fake blog posts:
async function getPosts() {
  const res = await fetch('https://jsonplaceholder.typicode.com/posts');
  return res.json();
}

export default async function Blog() {
  const posts = await getPosts();

  return (
    <div className="p-8">
      <h1 className="text-3xl font-bold mb-6">Blog Posts</h1>
      <ul className="space-y-4">
        {posts.slice(0, 5).map((post) => (
          <li key={post.id} className="border p-4 rounded-lg">
            <h2 className="text-xl font-semibold">{post.title}</h2>
            <p className="text-gray-600">{post.body}</p>
          </li>
        ))}
      </ul>
    </div>
  );
}
Create this in app/blog/page.js and check out your dynamic content!
⚠️ Warning: In a real app, you'd want error handling for your fetch requests. This is simplified for learning purposes.
Deploying Your App 🚀
The easiest way to deploy is using Vercel (made by the same team as Next.js):
- Push your code to GitHub
- Go to vercel.com
- Import your repository
- Click "Deploy" (no configuration needed!)
Your app will be live in minutes with a .vercel.app domain. You can later connect your own custom domain.
Common Beginner Mistakes to Avoid 🚫
- Putting everything in one page file - Break components into separate files
- Forgetting the "use client" directive - Needed for client-side interactivity
- Overfetching data - Only request what you need
- Ignoring error boundaries - Always handle potential errors
- Skipping the documentation - Next.js docs are beginner-friendly!
Where to Go From Here? 🌟
You've just built your first Next.js app! Here are some next steps:
- Add a contact form with Formik
- Implement authentication with NextAuth.js
- Try styling with Tailwind CSS (like in our examples)
- Build a simple API route
- Explore the App Router vs Pages Router concepts
Frequently Asked Questions ❓
Q: Do I need to know React before learning Next.js?
A: It helps, but you can learn them together! Next.js enhances React, so many concepts transfer.
Q: Is Next.js only for server-rendered apps?
A: No! You can use static generation, server rendering, or client-side rendering - it's flexible.
Q: How is Next.js different from Create React App?
A: Next.js includes routing, SSR, and optimizations out of the box, while CRA is more barebones.
Your Turn! 🎤
What project are you excited to build with Next.js? Have you hit any snags while learning? Share your experiences below - let's learn together! 👇
Remember, every expert was once a beginner. You've got this! 💪
Projects to explore next
Source-code projects from the KritiMyantra catalogue. Check each project's details before buying.
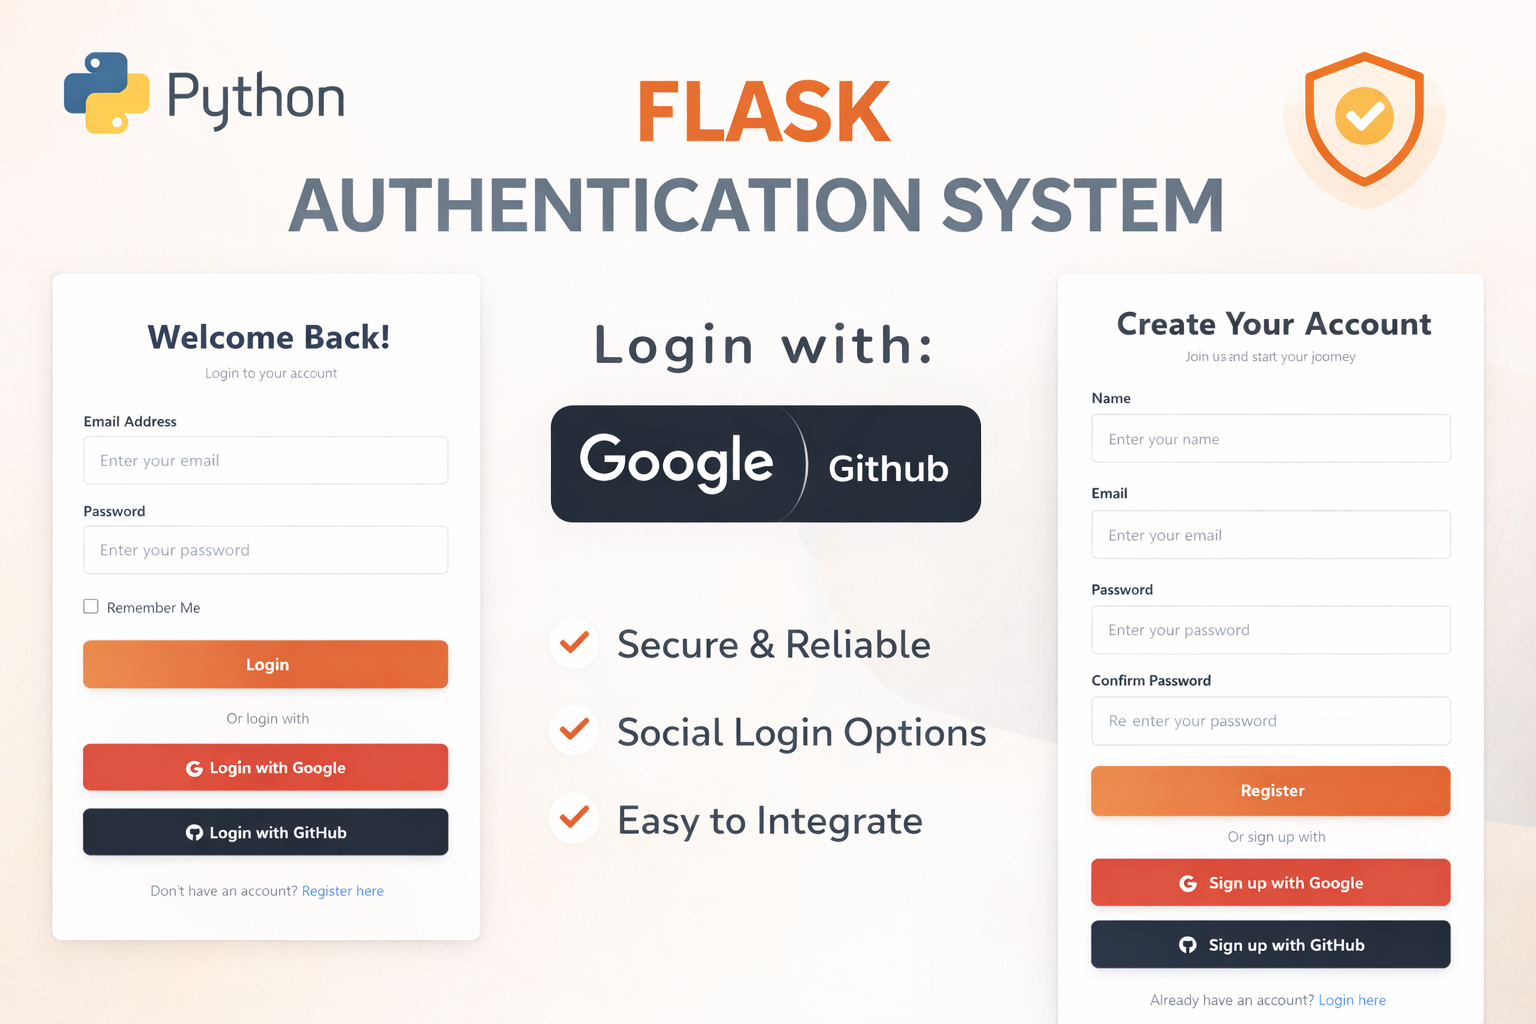
Flask Authentication System (Free Version) - Kritim Yantra
🛠 Features✔ Google & GitHub Authentication✔ User Registration & Login✔ Profile/Dashboard Access✔ Secure & Mi...

Flask Blog CMS with Admin Dashboard — Python Source Code
A Flask-based blogging website with a built-in admin dashboard. Manage articles, images, categories, tags and featured p...
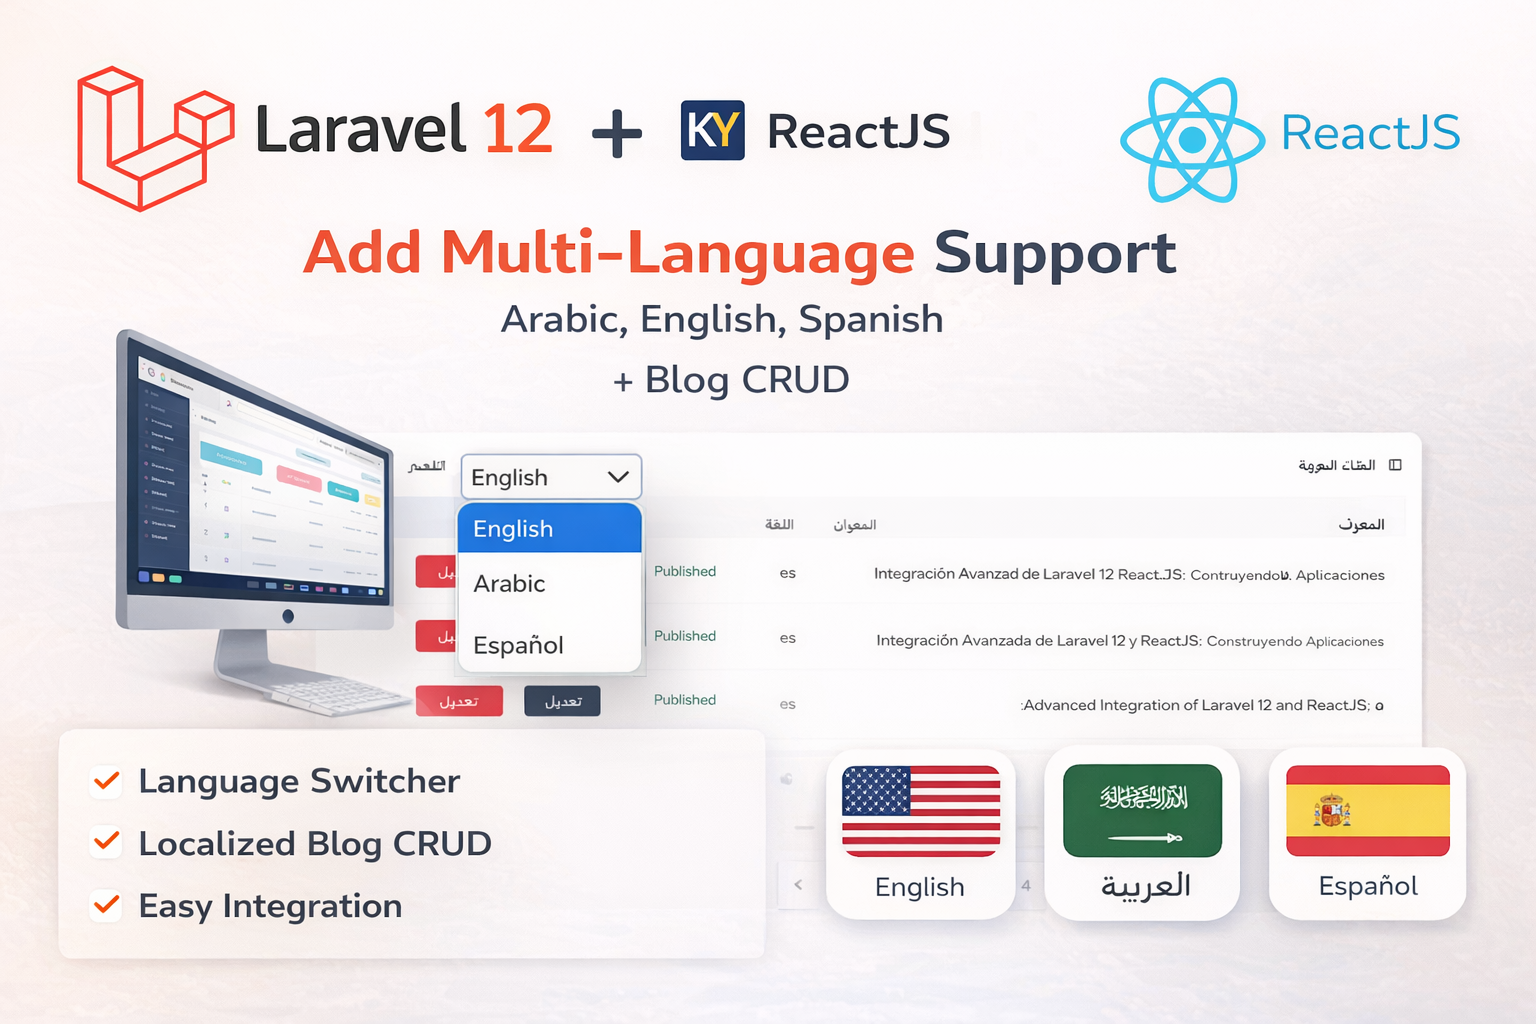
Laravel 12 + ReactJS Starter Kit: Add Multi-Language Support (Arabic, English, Spanish) with Blog CRUD
🚀 Installation & Setup Download & Extract Get the ZIP from kritimyantra.com and extract it. Includes preconfigu...
Express.js Top 10 Packages You Need for Every Project
Ever started an Express.js project and felt overwhelmed by the sheer number of packages out there? 🤯 Maybe you’ve found yourself...
20 MongoDB Interview Questions and Answers for Beginners (2025 Edition)
🤔 Ever been stumped by a MongoDB question during a job interview? Let me tell you a quick story. A friend of mine—let’s call him...
Building a Scalable Blog Management System with MongoDB & Express.js
Ever tried building a blog platform and ended up with messy, unmaintainable code? You're not alone. A well-structured database des...
Comments
No comments yet. Be the first to comment.
Sign in to join the discussion.