
Laravel Repository Pattern Explained: Clean Architecture for Developers

As your Laravel application grows, you might notice that your controllers start filling up with database queries and business logic. This can make your code messy, hard to maintain, and tricky to test. That’s where the repository pattern comes in—a simple yet powerful design pattern that helps keep your code organized by separating the data access layer from your business logic.
In this beginner-friendly guide, we’ll explore what the repository pattern is, why it’s useful in Laravel, and how to implement it step by step with clear code examples.
What is the Repository Pattern?
The repository pattern acts as a middleman between your application’s logic (for example, in controllers) and the data layer (models and databases). Instead of writing database queries directly in your controllers, you create a repository class that handles all data-related tasks for a specific model.
Think of it like a librarian: your controller asks the librarian (the repository) for a book (data), and the librarian fetches it from the shelves (the database) for you. This separation keeps your controllers clean and focused on handling HTTP requests and responses.
Why Use the Repository Pattern in Laravel?
- Separation of Concerns: Controllers handle user requests, while repositories manage data access. This makes your code easier to understand and maintain.
- Easier Testing: You can swap out the real repository with a fake one (a mock) during tests, simplifying controller testing.
- Reusability: You can use the same repository in multiple controllers or other parts of your app.
- Flexibility: If you ever need to switch databases (for example, from MySQL to MongoDB) or add caching, you only need to update the repository—not every controller.
For small projects, this might feel like extra work, but as your application grows, the repository pattern can save you a lot of headaches.
Implementing the Repository Pattern in Laravel
Let’s walk through setting up the repository pattern in Laravel using a simple example: managing blog posts with a Post model.
We’ll assume you already have a Post model set up with a corresponding database table.
Step 1: Create the Repository Interface
First, define an interface—a blueprint that lists the methods your repository must have. This ensures consistency and makes it easy to swap implementations later.
Create a new file called app/Repositories/PostRepositoryInterface.php:
<?php
namespace App\Repositories;

interface PostRepositoryInterface
{
    public function all();              // Get all posts
    public function find($id);          // Get a post by ID
    public function create(array $data); // Create a new post
    public function update($id, array $data); // Update a post
    public function delete($id);        // Delete a post
}
Step 2: Create the Concrete Repository Class
Next, create the actual repository class that implements this interface. This is where the real work happens—interacting with the Post model to fetch or modify data.
Create a file called app/Repositories/PostRepository.php:
<?php
namespace App\Repositories;

use App\Models\Post;

class PostRepository implements PostRepositoryInterface
{
    protected $model;

    // Inject the Post model into the repository
    public function __construct(Post $model)
    {
        $this->model = $model;
    }

    public function all()
    {
        return $this->model->all();
    }

    public function find($id)
    {
        return $this->model->find($id);
    }

    public function create(array $data)
    {
        return $this->model->create($data);
    }

    public function update($id, array $data)
    {
        $post = $this->model->find($id);
        if ($post) {
            $post->update($data);
            return $post;
        }
        return null;
    }

    public function delete($id)
    {
        $post = $this->model->find($id);
        if ($post) {
            $post->delete();
            return true;
        }
        return false;
    }
}
Step 3: Bind the Interface to the Concrete Class
To use this repository in your controllers, bind the interface to the concrete class in Laravel’s service container. Open app/Providers/AppServiceProvider.php and update the register method:
<?php
namespace App\Providers;

use Illuminate\Support\ServiceProvider;
use App\Repositories\PostRepositoryInterface;
use App\Repositories\PostRepository;

class AppServiceProvider extends ServiceProvider
{
    public function register()
    {
        $this->app->bind(PostRepositoryInterface::class, PostRepository::class);
    }

    public function boot()
    {
        //
    }
}
Step 4: Use the Repository in a Controller
Update a controller to use your repository. Create or open app/Http/Controllers/PostController.php:
<?php
namespace App\Http\Controllers;

use App\Repositories\PostRepositoryInterface;

class PostController extends Controller
{
    protected $postRepository;

    // Inject the repository via the constructor
    public function __construct(PostRepositoryInterface $postRepository)
    {
        $this->postRepository = $postRepository;
    }

    public function index()
    {
        $posts = $this->postRepository->all();
        return view('posts.index', compact('posts'));
    }

    public function show($id)
    {
        $post = $this->postRepository->find($id);
        return view('posts.show', compact('post'));
    }

    // Additional methods (store, update, delete) can be added here
}
Notice how clean the controller is! It doesn’t handle database queries directly; it simply asks the repository for data.
Handling More Complex Queries
The repository pattern isn’t just for basic CRUD operations—it can also handle more specific tasks. For example, if you need to retrieve posts by a specific author, update your interface and repository accordingly.
Update the Interface (app/Repositories/PostRepositoryInterface.php):
public function getByAuthor($authorId);
Implement It in the Repository (app/Repositories/PostRepository.php):
public function getByAuthor($authorId)
{
    return $this->model->where('author_id', $authorId)->get();
}
Use It in the Controller: Add a method to PostController:
public function postsByAuthor($authorId)
{
    $posts = $this->postRepository->getByAuthor($authorId);
    return view('posts.by_author', compact('posts'));
}
Now your controller stays simple, and all the database logic is encapsulated in the repository.
Bonus: Using a Base Repository (Optional)
If your application has multiple models (like Post, User, Comment), many repository methods may be the same across them. To avoid duplication, you can create a base repository.
Create a Base Repository (app/Repositories/BaseRepository.php):
<?php
namespace App\Repositories;

use Illuminate\Database\Eloquent\Model;

abstract class BaseRepository
{
    protected $model;

    public function __construct(Model $model)
    {
        $this->model = $model;
    }

    public function all()
    {
        return $this->model->all();
    }

    public function find($id)
    {
        return $this->model->find($id);
    }

    // Add other common methods as needed
}
Update PostRepository (app/Repositories/PostRepository.php):
<?php
namespace App\Repositories;

use App\Models\Post;

class PostRepository extends BaseRepository implements PostRepositoryInterface
{
    public function __construct(Post $model)
    {
        parent::__construct($model);
    }

    public function create(array $data)
    {
        return $this->model->create($data);
    }

    public function update($id, array $data)
    {
        $post = $this->model->find($id);
        if ($post) {
            $post->update($data);
            return $post;
        }
        return null;
    }

    public function delete($id)
    {
        $post = $this->model->find($id);
        if ($post) {
            $post->delete();
            return true;
        }
        return false;
    }

    public function getByAuthor($authorId)
    {
        return $this->model->where('author_id', $authorId)->get();
    }
}
Visualizing the Flow
Here’s a simple way to picture the repository pattern in action:
Controller -> Repository -> Model -> Database
The controller asks the repository for data. The repository uses the model to interact with the database. The result flows back to the controller.
When Should You Use the Repository Pattern?
The repository pattern shines in medium-to-large Laravel applications where maintainability and scalability are critical. For small projects with only a few controllers, it might seem like extra work.
Ask yourself:
- Will my application grow in complexity?
- Do I need easier testing and the ability to swap data sources?
- Do I want to keep my controllers lean and focused solely on handling requests?
If the answer is “yes” to any of these, the repository pattern is a great choice.
Conclusion
The Laravel repository pattern is a fantastic tool for keeping your code clean and manageable. By moving data access logic out of your controllers and into repositories, you create a clear separation that makes your application easier to maintain, test, and scale.
With dependency injection and interfaces, you gain the flexibility to change data sources or add caching with minimal disruption. Try implementing this pattern in your next Laravel project—it might take a little extra setup, but the payoff is well worth it!
Happy coding!
Projects to explore next
Source-code projects from the KritiMyantra catalogue. Check each project's details before buying.
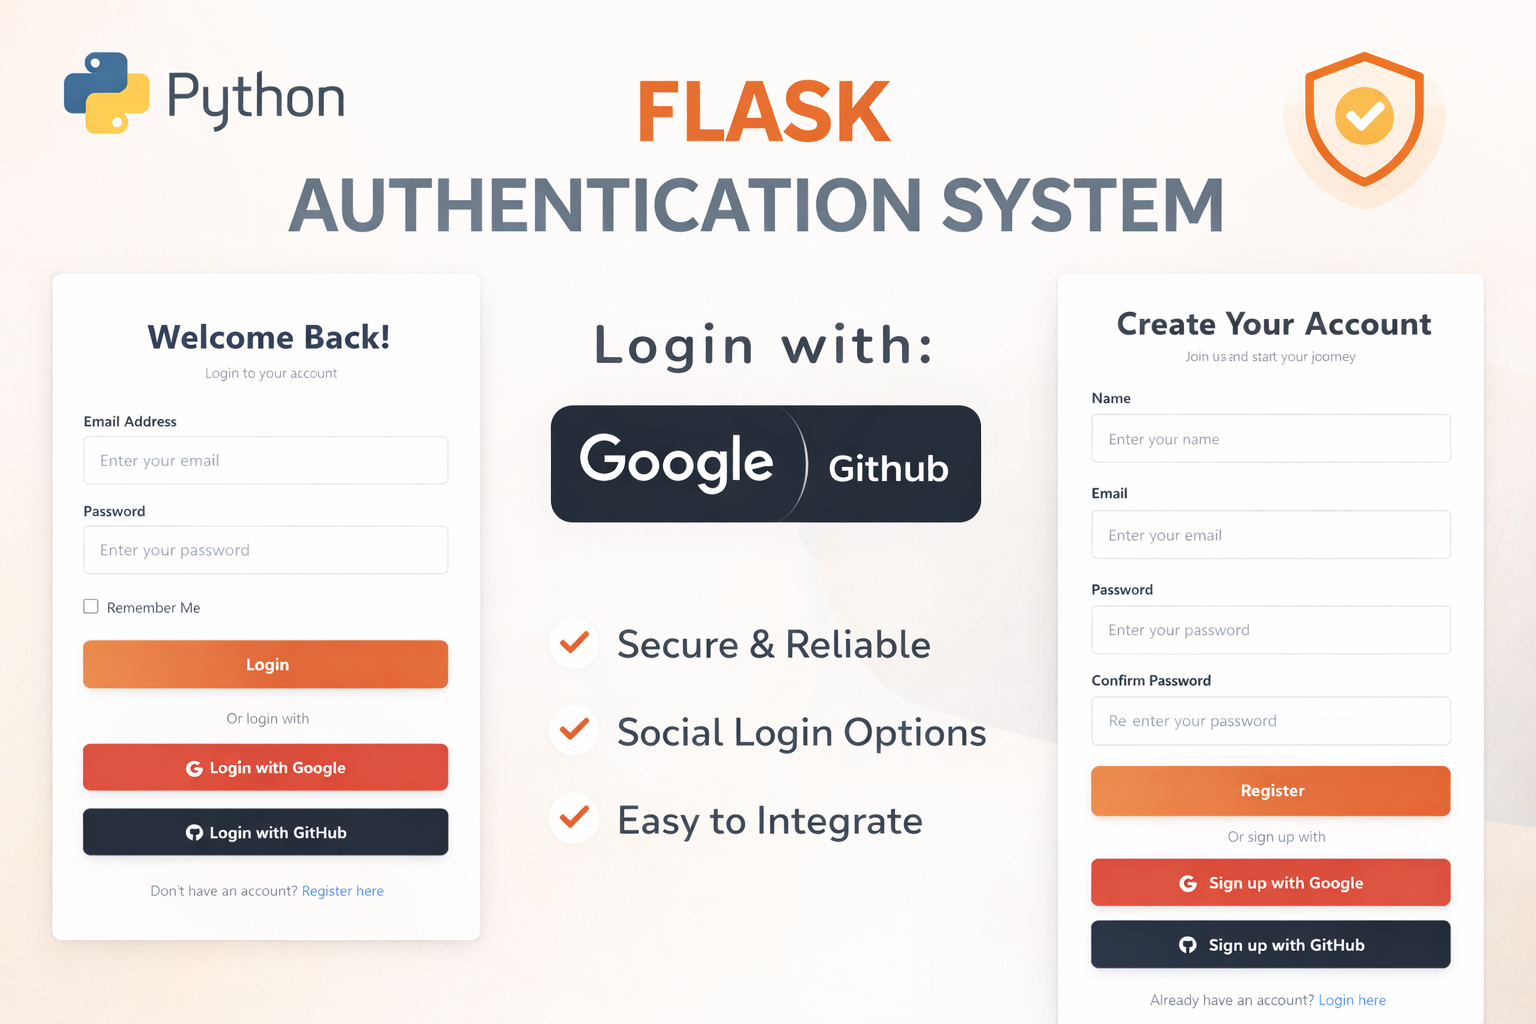
Flask Authentication System (Free Version) - Kritim Yantra
🛠 Features✔ Google & GitHub Authentication✔ User Registration & Login✔ Profile/Dashboard Access✔ Secure & Mi...

Flask Blog CMS with Admin Dashboard — Python Source Code
A Flask-based blogging website with a built-in admin dashboard. Manage articles, images, categories, tags and featured p...
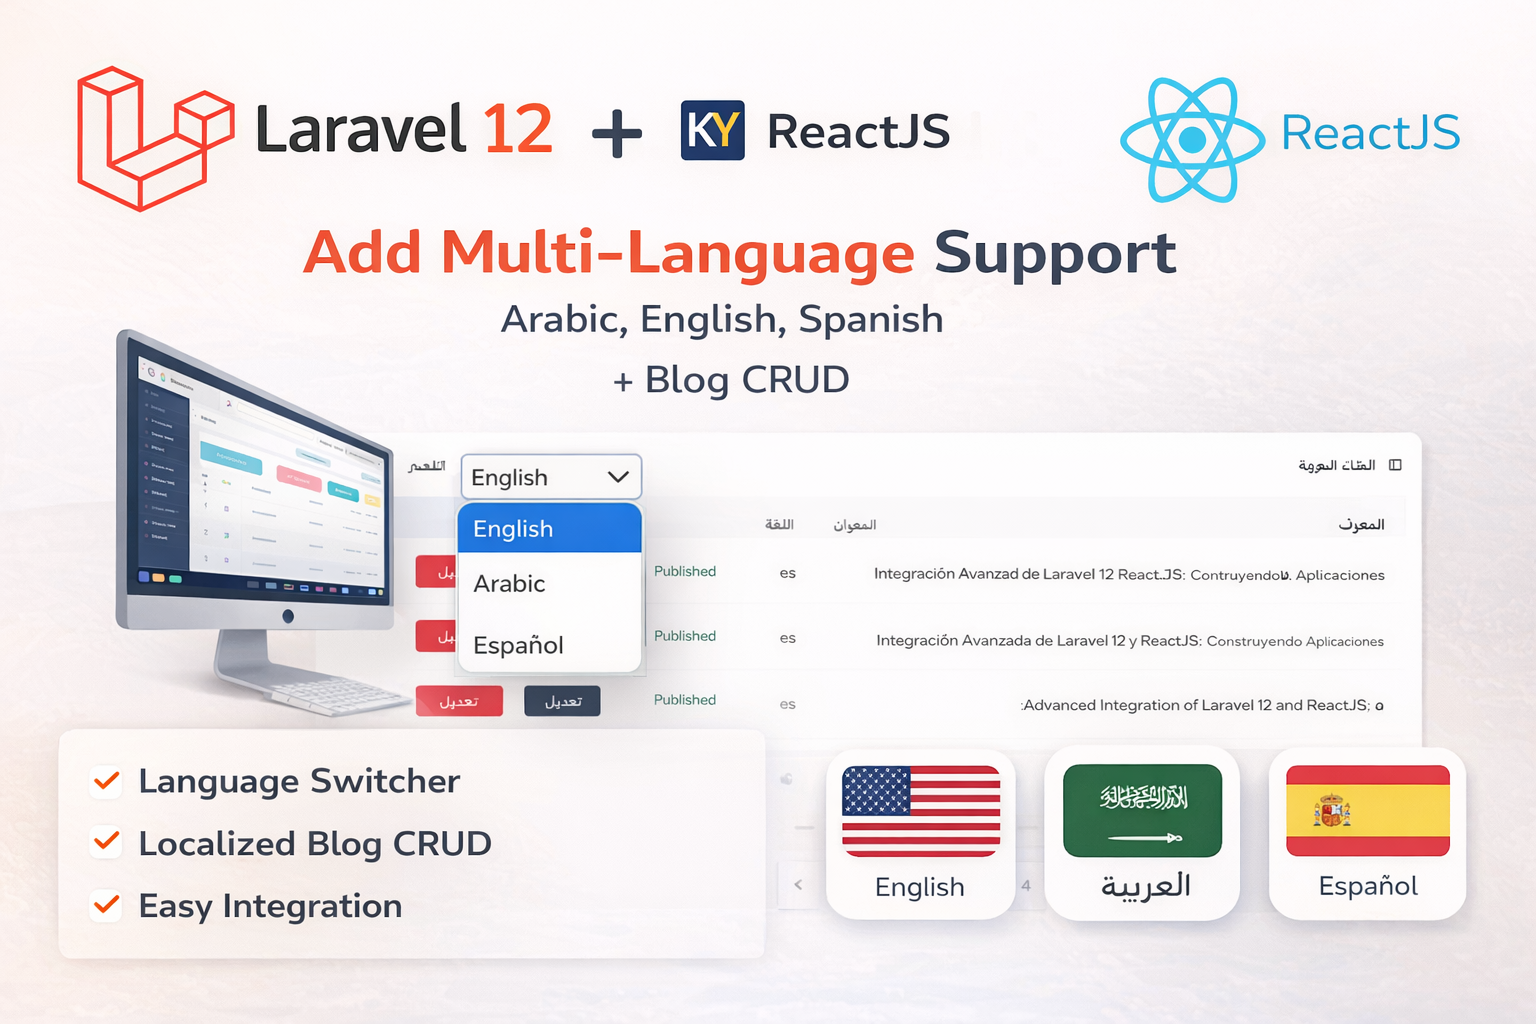
Laravel 12 + ReactJS Starter Kit: Add Multi-Language Support (Arabic, English, Spanish) with Blog CRUD
🚀 Installation & Setup Download & Extract Get the ZIP from kritimyantra.com and extract it. Includes preconfigu...
Understanding SOLID Design Principles in Laravel (For Beginners)
Understanding SOLID Design Principles in Laravel (For Beginners) SOLID design principles are a set of guidelines that help develop...

Laravel 12 CRUD Application with React, InertiaJS & Tailwind CSS
Welcome to this comprehensive guide on building a CRUD application for blog post management using the latest technologies: Laravel...

Laravel 12 Roles and Permissions Setup: Complete Guide
In many web applications, controlling user access based on roles and permissions is crucial. For example, an admin might need full...
Comments
No comments yet. Be the first to comment.
Sign in to join the discussion.