
Laravel 12: How to Safely Update Column Name in Migration

When working on a Laravel project, it’s common to change your database structure as your application evolves. One of the most frequent changes is renaming a column in a table. For example, maybe you named a column user_name but later realized username is a better name. In this blog, we’ll learn how to safely update column names in Laravel 12 using migrations.
This guide is beginner-friendly and will explain each step clearly so you can follow along with confidence. Let’s dive in! 🚀
📌 What is a Migration in Laravel?
Before we start, let’s quickly understand what a migration is.
A migration in Laravel is like a version control for your database. It allows you to define and modify your database structure using PHP code. You don’t need to manually write SQL queries—Laravel does that for you! This makes it easy to track changes and share them with your team.
🏗️ Why Rename a Column?
There are many reasons why you might want to rename a column:
- The original name wasn’t clear (
user_name➡️username) - You want consistency across your tables
- You need to follow a new naming convention
- Your business logic has changed
Whatever the reason, let’s see how to do it safely.
✨ The Safe Way to Rename Columns in Laravel 12
Step 1️⃣: Install Doctrine/DBAL Package
Laravel uses the Doctrine DBAL package under the hood to modify columns safely (like renaming). This package is not installed by default, so you need to add it.
Run this command in your terminal:
composer require doctrine/dbal
This package provides the extra capabilities Laravel needs to modify existing columns in the database.
Step 2️⃣: Create a New Migration for Renaming the Column
Instead of editing your existing migration (which can break your code if already run), create a new migration. This is the Laravel way—always use a new migration for changes.
Run the following Artisan command:
php artisan make:migration rename_user_name_column_in_users_table
This will create a new migration file in your database/migrations folder.
Step 3️⃣: Edit the Migration File
Open the newly created migration file. It will look something like this:
<?php

use Illuminate\Database\Migrations\Migration;
use Illuminate\Database\Schema\Blueprint;
use Illuminate\Support\Facades\Schema;

return new class extends Migration
{
    public function up(): void
    {
        Schema::table('users', function (Blueprint $table) {
            // Rename column here
        });
    }

    public function down(): void
    {
        Schema::table('users', function (Blueprint $table) {
            // Reverse the change here
        });
    }
};
Now, let’s rename the column safely.
For example, if we want to rename the user_name column to username, we’ll write:
public function up(): void
{
    Schema::table('users', function (Blueprint $table) {
        $table->renameColumn('user_name', 'username');
    });
}
And in the down() method (for rolling back the change), write:
public function down(): void
{
    Schema::table('users', function (Blueprint $table) {
        $table->renameColumn('username', 'user_name');
    });
}
Step 4️⃣: Run the Migration
Now that your migration is ready, run the following command to apply the change:
php artisan migrate
Laravel will safely rename the column in the database using the Doctrine DBAL package.
🛡️ Important Tips for Safe Column Renaming
✅ Always test in your local environment before running migrations on production.
✅ Back up your database before making changes to existing tables, especially in production.
✅ Review your code to update any references to the old column name. For example, update your models, controllers, views, and tests.
✅ Check your queries: If you’ve used the old column name in raw SQL queries (like DB::table()), update them too.
🧪 Example: Full Migration Code
Here’s the complete example for reference:
<?php

use Illuminate\Database\Migrations\Migration;
use Illuminate\Database\Schema\Blueprint;
use Illuminate\Support\Facades\Schema;

return new class extends Migration
{
    public function up(): void
    {
        Schema::table('users', function (Blueprint $table) {
            $table->renameColumn('user_name', 'username');
        });
    }

    public function down(): void
    {
        Schema::table('users', function (Blueprint $table) {
            $table->renameColumn('username', 'user_name');
        });
    }
};
🚀 Final Thoughts
Renaming a column might seem like a small task, but doing it the Laravel way ensures your application stays stable, your migrations remain organized, and your team can easily track changes.
With Laravel 12 and the power of migrations, you can handle database changes confidently. 🎯
If you found this guide helpful, feel free to share it with your fellow developers! And remember—always test before you migrate in production! 🛡️
🙌 Happy Coding!
Have questions or want to learn more about Laravel? Let me know in the comments! 🚀
Projects related to this guide
Use the concepts from this article in practical source-code projects.
 Web Development
Free
Preview
Web Development
Free
Preview
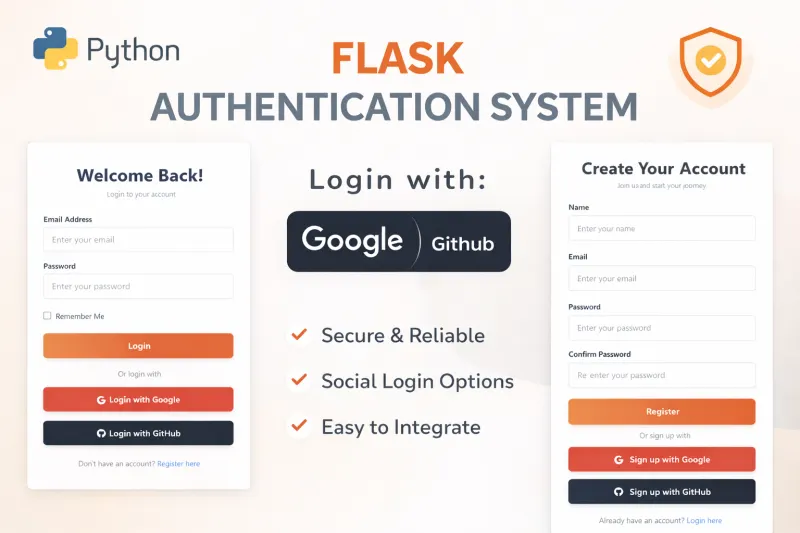
Flask Authentication System (Free Version) - Kritim Yantra
🛠 Features✔ Google & GitHub Authentication✔ User Registration & Login✔ Profile/Dashboard Access✔ Secure...
 Web Development
₹399
Preview
Web Development
₹399
Preview
Python Flask Blog Project with Admin Panel
Are you ready to launch a powerful, modern, and fully customizable blog? Look no further! Introducing the Flask-...
 Web Development
₹299
Preview
Web Development
₹299
Preview
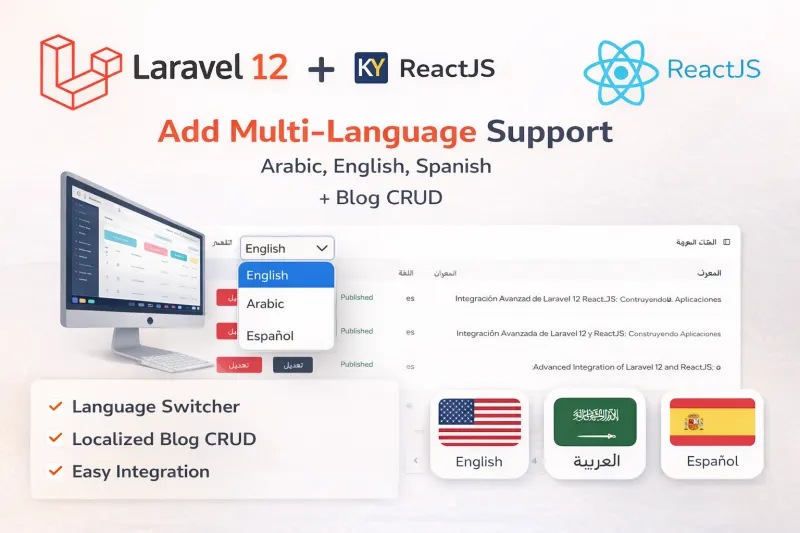
Laravel 12 + ReactJS Starter Kit: Add Multi-Language Support (Arabic, English, Spanish) with Blog CRUD
🚀 Installation & Setup Download & Extract Get the ZIP from kritimyantra.com and extract it. Includes pr...
Laravel 12 Unleashed: Early Insights & What Lies Ahead
Laravel has always set the standard for modern web development. With the release of Laravel 12, the framework not only refines its...

Laravel 12 Roles and Permissions Setup: Complete Guide
In many web applications, controlling user access based on roles and permissions is crucial. For example, an admin might need full...
Laravel 12 Deployment Security Best Practices
Deploying a Laravel application means making it live for users to access over the internet. But with this comes the risk of securi...
Comments
No comments yet. Be the first to comment.
Sign in to join the discussion.