
How to Build an Admin Panel in Laravel 12 with Roles and Permissions

In this comprehensive guide, we’ll create a Laravel 12 admin panel with role-based access control (RBAC) using the popular Spatie Laravel-Permission package. This setup allows you to:
✅ Create roles (Admin, Editor, User, etc.)
✅ Assign permissions (create, edit, delete, view)
✅ Restrict access based on user roles
✅ Manage users and permissions via an admin dashboard
Prerequisites
Before starting, ensure you have:
- Laravel 12 installed
- Composer for package management
- Basic knowledge of Laravel MVC & migrations
Step 1: Install Laravel and Set Up Authentication
1.1 Create a New Laravel Project
composer create-project laravel/laravel laravel-admin-panel
cd laravel-admin-panel
1.2 Install Laravel Breeze (for Auth Scaffolding)
composer require laravel/breeze --dev
php artisan breeze:install
php artisan migrate
npm install && npm run dev
1.3 Create a Default Admin User
Modify database/seeders/DatabaseSeeder.php:
use App\Models\User;

public function run()
{
    $admin = User::create([
        'name' => 'Admin',
        'email' => 'admin@example.com',
        'password' => bcrypt('password'),
    ]);
}
Run the seeder:
php artisan db:seed
Step 2: Install Spatie Laravel-Permission
2.1 Install the Package
composer require spatie/laravel-permission
2.2 Publish Config & Migrations
php artisan vendor:publish --provider="Spatie\Permission\PermissionServiceProvider"
php artisan migrate
2.3 Add Middleware
Update bootstrap/app.php:
->withMiddleware(function (Middleware $middleware) {
        $middleware->alias([
            'role' => \Spatie\Permission\Middleware\RoleMiddleware::class,
            'permission' => \Spatie\Permission\Middleware\PermissionMiddleware::class,
            'role_or_permission' => \Spatie\Permission\Middleware\RoleOrPermissionMiddleware::class,
        ]);
    })
Step 3: Set Up Roles & Permissions
3.1 Create Roles and Permissions
Modify DatabaseSeeder.php:
use Spatie\Permission\Models\Role;
use Spatie\Permission\Models\Permission;

public function run()
{
    // Create roles
    $adminRole = Role::create(['name' => 'admin']);
    $editorRole = Role::create(['name' => 'editor']);
    $userRole = Role::create(['name' => 'user']);

    // Create permissions
    $permissions = [
        'create-post',
        'edit-post',
        'delete-post',
        'view-post',
    ];

    foreach ($permissions as $permission) {
        Permission::create(['name' => $permission]);
    }

    // Assign all permissions to admin
    $adminRole->syncPermissions($permissions);

    // Assign limited permissions to editor
    $editorRole->syncPermissions(['create-post', 'edit-post', 'view-post']);

    // Assign default user role
    $user = User::create([
        'name' => 'Admin',
        'email' => 'admin@example.com',
        'password' => bcrypt('password'),
    ]);
    $user->assignRole('admin');
}
Run the seeder:
php artisan db:seed
Step 4: Create Admin Dashboard
4.1 Generate Admin Controller
php artisan make:controller AdminController --resource
4.2 Define Admin Routes
Update routes/web.php:
use App\Http\Controllers\AdminController;

Route::middleware(['auth', 'role:admin'])->group(function () {
    Route::get('/admin/dashboard', [AdminController::class, 'dashboard'])->name('admin.dashboard');
    Route::resource('/admin/users', AdminController::class);
});
4.3 Build Admin Dashboard Views
Create resources/views/admin/dashboard.blade.php:
@extends('layouts.app')

@section('content')
<div class="container">
    <h1>Admin Dashboard</h1>

    <div class="card">
        <div class="card-header">
            <h3>Manage Users</h3>
        </div>
        <div class="card-body">
            <table class="table">
                <thead>
                    <tr>
                        <th>Name</th>
                        <th>Email</th>
                        <th>Roles</th>
                        <th>Actions</th>
                    </tr>
                </thead>
                <tbody>
                    @foreach($users as $user)
                        <tr>
                            <td>{{ $user->name }}</td>
                            <td>{{ $user->email }}</td>
                            <td>
                                @foreach($user->roles as $role)
                                    <span class="badge bg-primary">{{ $role->name }}</span>
                                @endforeach
                            </td>
                            <td>
                                <a href="{{ route('admin.users.edit', $user->id) }}" class="btn btn-sm btn-warning">Edit</a>
                            </td>
                        </tr>
                    @endforeach
                </tbody>
            </table>
        </div>
    </div>
</div>
@endsection
Step 5: Implement Role & Permission Checks
5.1 Restrict Access in Controllers
Update AdminController.php:
public function __construct()
{
    $this->middleware(['auth', 'role:admin']);
}

public function dashboard()
{
    $users = User::with('roles')->get();
    return view('admin.dashboard', compact('users'));
}
5.2 Check Permissions in Blade Views
@can('edit-post')
    <button class="btn btn-sm btn-warning">Edit Post</button>
@endcan
Step 6: Manage Users, Roles & Permissions
6.1 Edit User Roles
Create resources/views/admin/users/edit.blade.php:
<form action="{{ route('admin.users.update', $user->id) }}" method="POST">
    @csrf
    @method('PUT')
    <div class="mb-3">
        <label>Roles</label>
        @foreach($roles as $role)
            <div class="form-check">
                <input type="checkbox" name="roles[]" value="{{ $role->name }}"
                    {{ $user->hasRole($role->name) ? 'checked' : '' }}>
                <label>{{ $role->name }}</label>
            </div>
        @endforeach
    </div>
    <button type="submit" class="btn btn-primary">Update</button>
</form>
6.2 Update User Roles in Controller
public function update(Request $request, User $user)
{
    $user->syncRoles($request->roles);
    return redirect()->route('admin.dashboard')->with('success', 'Roles updated!');
}
Step 7: Protect Routes with Middleware
7.1 Restrict Access to Specific Roles
Route::middleware(['auth', 'role:admin|editor'])->group(function () {
    Route::get('/posts/create', [PostController::class, 'create']);
});
7.2 Check Permissions in Controllers
if (auth()->user()->can('edit-post')) {
    // Allow editing
}
Conclusion
You’ve successfully built a Laravel 12 admin panel with role-based permissions!
Key Features Implemented
✅ User Authentication (Laravel Breeze)
✅ Role & Permission Management (Spatie Package)
✅ Admin Dashboard (User & Role Management)
✅ Middleware Protection (Restricted Access)
Further Improvements
- Add permission management UI (assign permissions to roles).
- Implement dynamic sidebar menus based on roles.
- Use Livewire or Inertia.js for a more interactive dashboard.
Now you can securely manage users, roles, and permissions in your Laravel application! 🚀
Let me know if you need any clarifications. Happy coding! 😊
Projects to explore next
Source-code projects from the KritiMyantra catalogue. Check each project's details before buying.
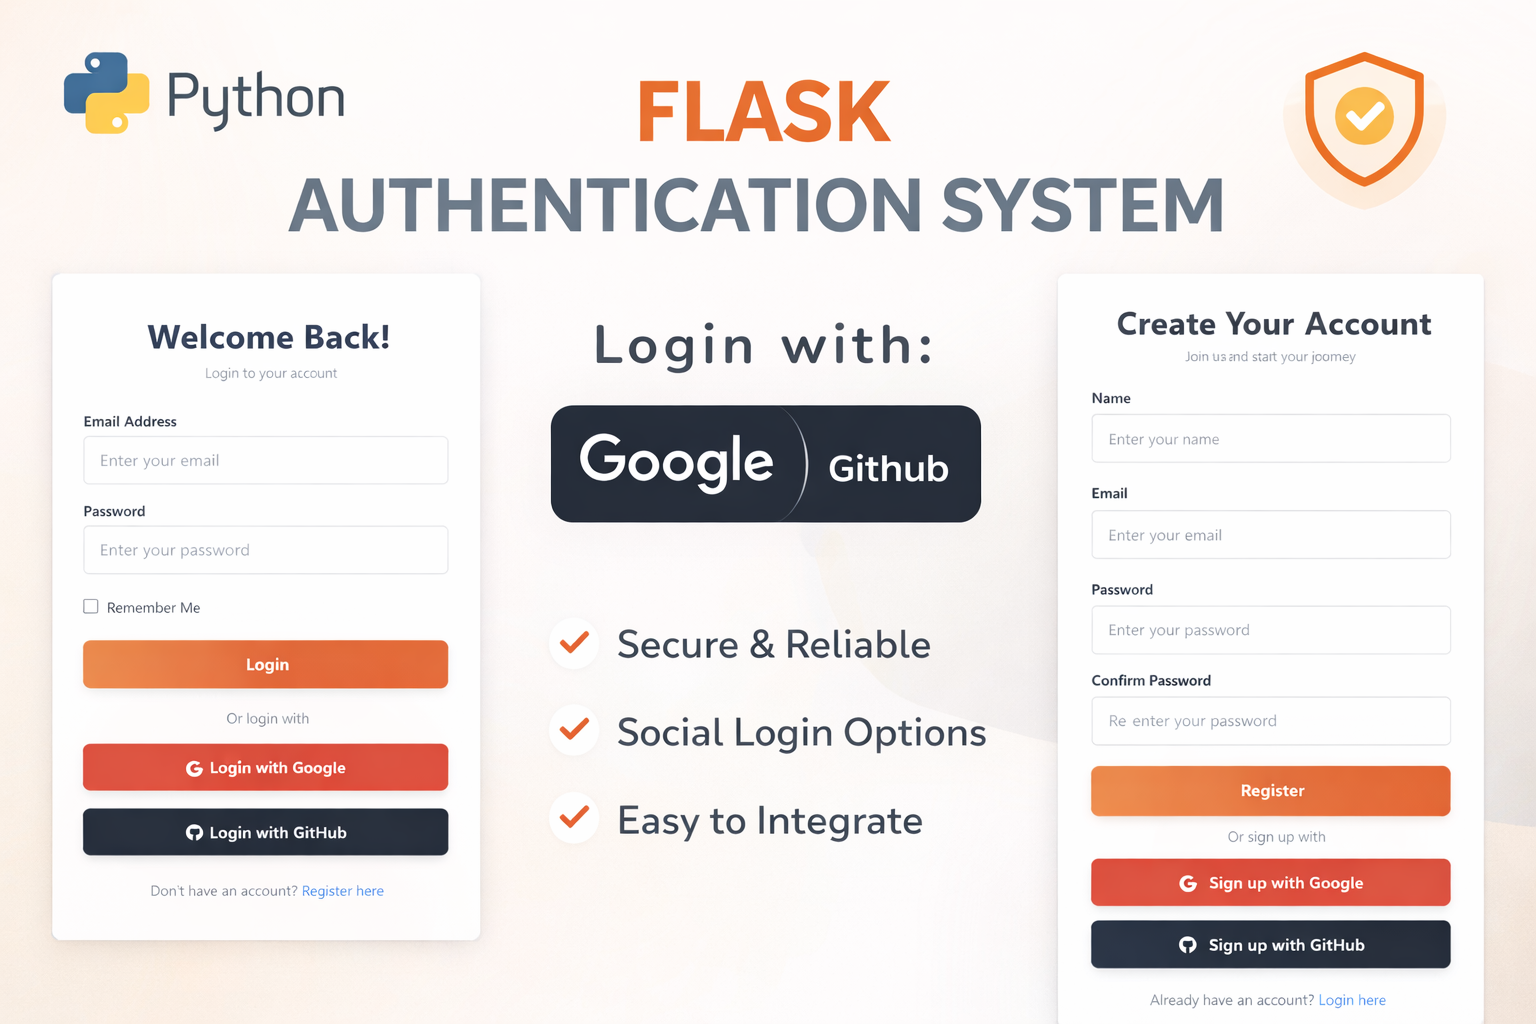
Flask Authentication System (Free Version) - Kritim Yantra
🛠 Features✔ Google & GitHub Authentication✔ User Registration & Login✔ Profile/Dashboard Access✔ Secure & Mi...

Python Flask Blog Project with Admin Panel
Are you ready to launch a powerful, modern, and fully customizable blog? Look no further! Introducing the Flask-Blog Pro...
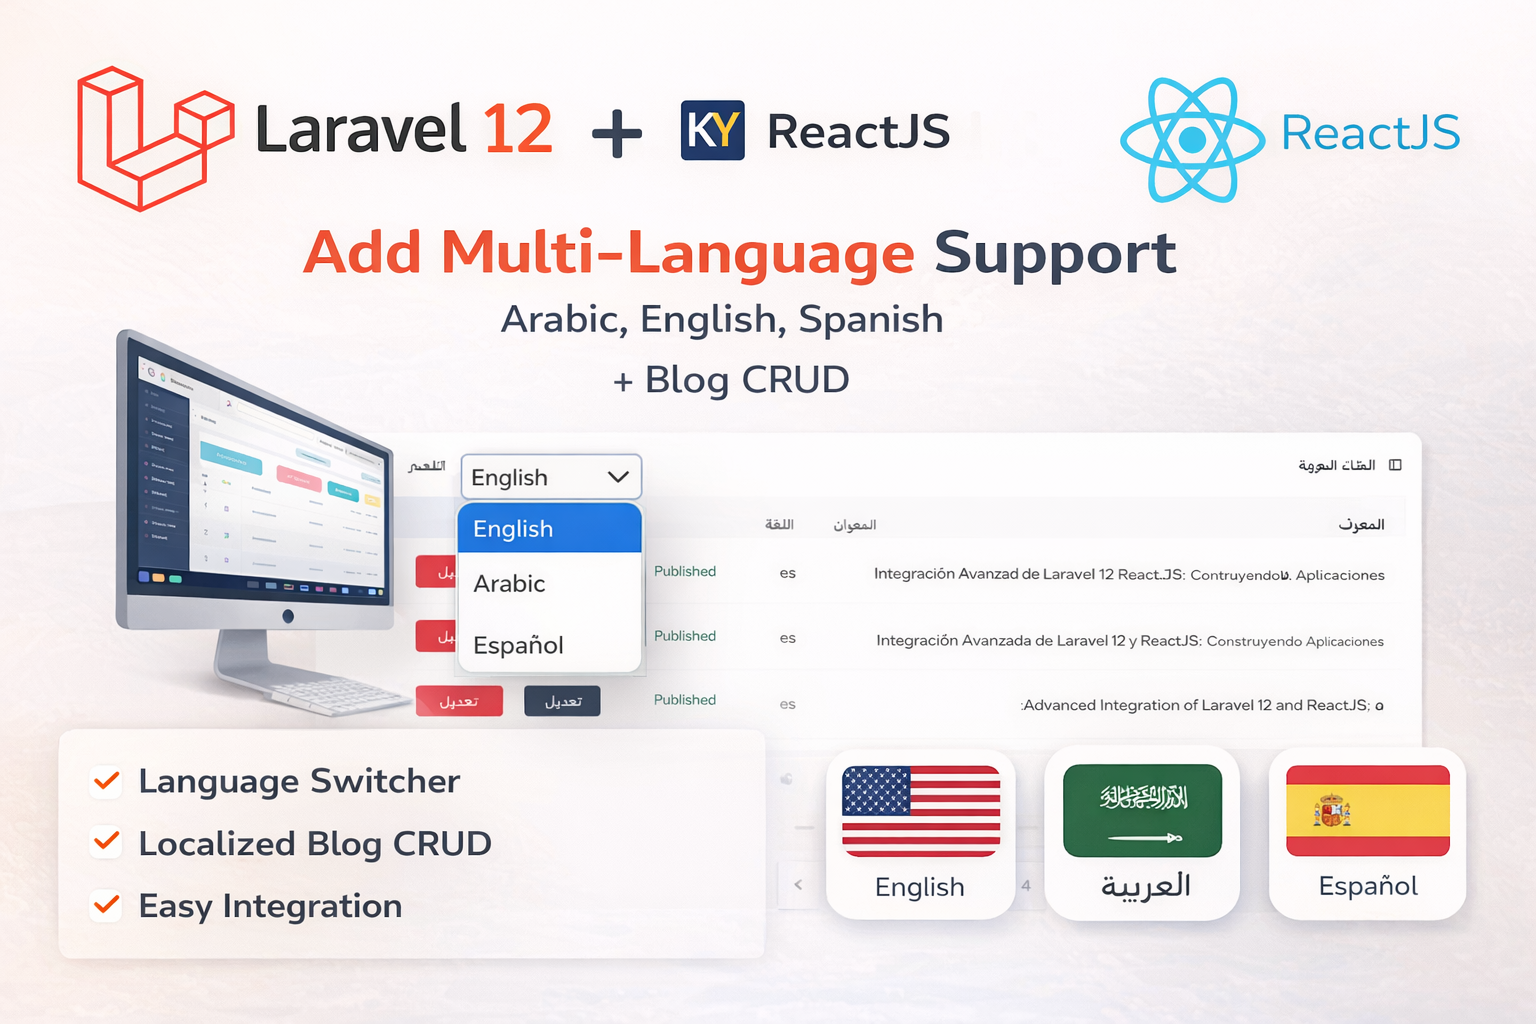
Laravel 12 + ReactJS Starter Kit: Add Multi-Language Support (Arabic, English, Spanish) with Blog CRUD
🚀 Installation & Setup Download & Extract Get the ZIP from kritimyantra.com and extract it. Includes preconfigu...
Laravel 12 Roles and Permissions Setup: Complete Guide
In many web applications, controlling user access based on roles and permissions is crucial. For example, an admin might need full...
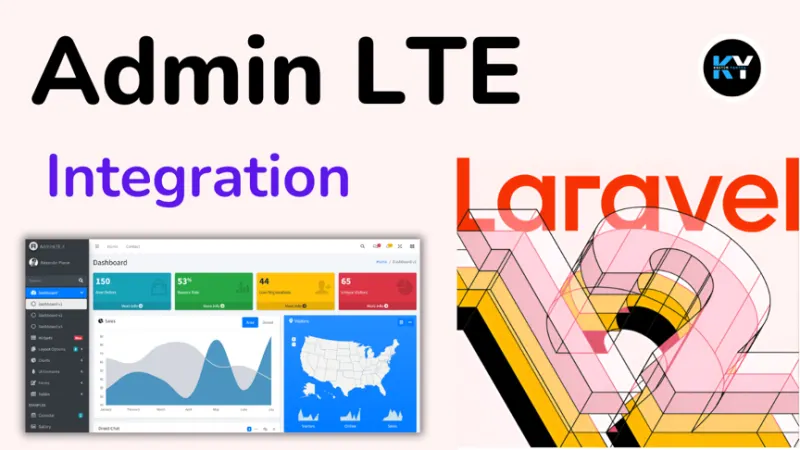
Laravel 12 & AdminLTE Integration: Setup Your Stunning Admin Dashboard
AdminLTE is a popular, open-source admin dashboard template built with Bootstrap. It offers a sleek, responsive, and customizable...
Laravel 12: Understanding Error and Exception Handling with Examples
When building web applications, handling errors and exceptions is crucial to ensure a smooth user experience and maintain the stab...
Comments
No comments yet. Be the first to comment.
Sign in to join the discussion.