Install Laravel Breeze Package in Laravel 12

Kritim Yantra
Mar 06, 2025

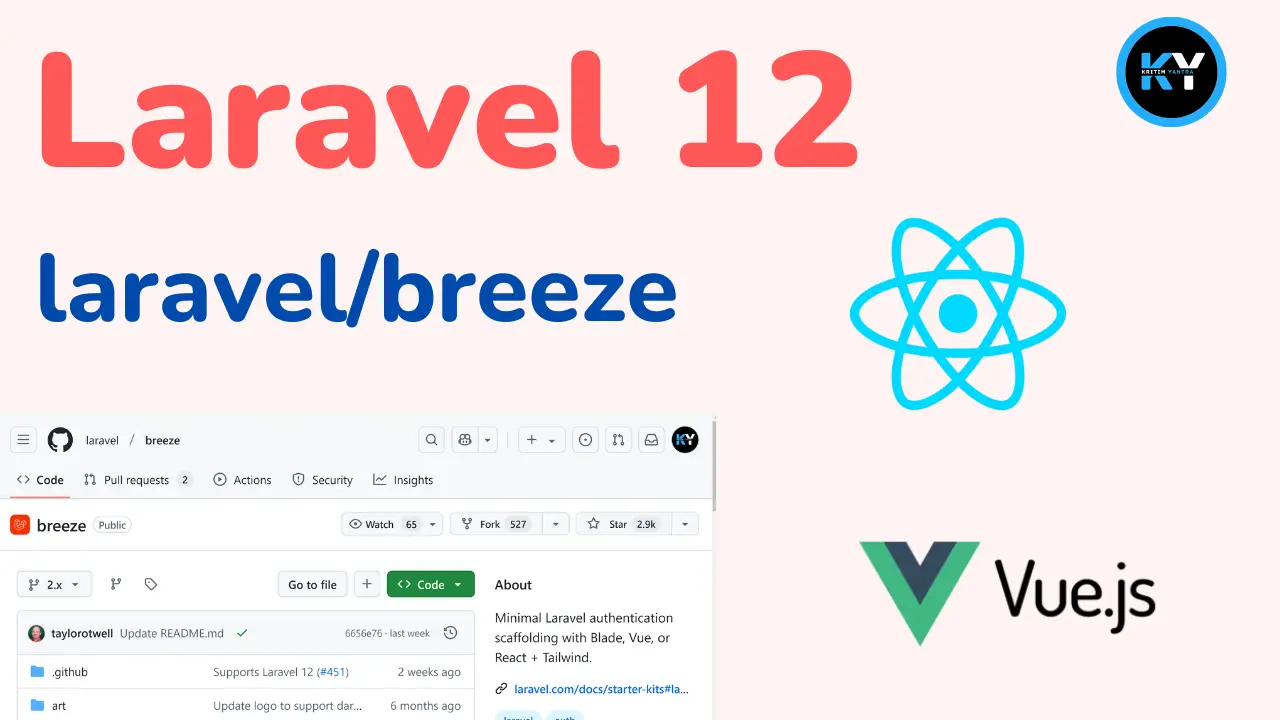
Hey there! If you’re diving into Laravel 12 and want to add a simple, reliable authentication system to your project, you’re in the right place. Laravel Breeze is a fantastic tool that makes setting up features like login, registration, and password resets a breeze (pun intended!). It’s lightweight, customizable, and works beautifully with Laravel 12, offering options like Blade, Livewire, or Inertia stacks to suit your style.
You might be wondering, “How do I get started?” Well, installing Breeze in Laravel 12 is a little different than in past versions—don’t worry, though, it’s still super doable! In this guide, I’ll walk you through every step, from creating your project to testing your shiny new authentication setup. Whether you’re a beginner or just brushing up, I’ve got you covered with clear instructions, handy tips, and solutions to common hiccups. Let’s get started and build something awesome together!
Creating a New Laravel 12 Project
Start by creating a new Laravel 12 project using Composer. Run one of these commands in your terminal:
composer create-project --prefer-dist "laravel/framework:^12.0" myproject
# OR
laravel new myproject
When prompted for the starter kit, select "None" as Breeze isn’t an option during this step.
Then, navigate to your project directory:
cd myprojectInstalling Laravel Breeze
With your project ready, install the Breeze package via Composer:
composer require laravel/breezeThis command adds the Breeze package to your project and enables its authentication features.
Setting Up Authentication Scaffolding
Once Breeze is installed, set up the authentication scaffolding by running:
php artisan breeze:installYou will be prompted to choose your preferred frontend stack. Options typically include:
- Blade: Uses simple Blade templates styled with Tailwind CSS.
- Livewire: For dynamic, reactive UIs.
- Inertia with React or Alpine: For single-page application (SPA) experiences.
For simplicity, choose the Blade stack (or the one that best suits your project). Breeze will generate the necessary routes, controllers, views, and other files for authentication.
Next, compile your frontend assets. Make sure you have Node.js and npm installed, then run:
npm install
npm run dev
Finally, set up your database by running migrations (ensure your .env file is configured with correct database credentials):
php artisan migrateTesting the Installation
With everything set up, start your Laravel development server:
php artisan serve
Open your browser and navigate to http://localhost:8000. You should see the welcome page with links for login and registration.
Click "Register" to create a new user account, then log in to verify that the authentication system works as expected.
Common Pitfalls and Solutions
Beginners might encounter a few issues during installation:
-
Package Installation Fails: Ensure Composer is up to date and your PHP version is at least 8.2.0. Run
composer diagnoseto check for dependency conflicts. -
Asset Compilation Errors: If
npm run devfails, verify your Node.js and npm versions. Update them if necessary. -
Database Connection Issues: If migrations fail, double-check your
.envfile for correct database credentials and ensure your database server is running.
Comparison of Frontend Stacks
To help you choose the right stack, here’s a comparison:
| Stack Option | Description | Best For |
|---|---|---|
| Blade | Simple templates with Tailwind CSS | Traditional server-side rendering |
| Livewire | Dynamic, reactive UIs using PHP | Modern PHP-based applications |
| Inertia with React | SPA experience with React | JavaScript-heavy, modern SPAs |
| Inertia with Alpine | Lighter SPA experience with Alpine.js | Lightweight, JavaScript-friendly projects |
Unexpected Detail: Manual Installation Requirement
An unexpected detail in Laravel 12 is that its new installer does not include Breeze as a starter kit option. This requires you to manually install Breeze via Composer after creating your project. This change may be new for users familiar with earlier versions.
Conclusion
And there you have it—installing Laravel Breeze in Laravel 12 is totally doable once you know the steps! From creating your project, adding Breeze, setting up authentication, and testing it out, you’ve now got a solid foundation for building secure, user-friendly apps. Pick the frontend stack that sparks joy for you, tackle any hiccups with the tips above, and you’re ready to roll.
Happy coding, and enjoy exploring the capabilities of Laravel Breeze!
Comments
No comments yet. Be the first to comment!
Please log in to post a comment:
Sign in with GoogleRelated Posts

 Kritim Yantra

