
Build Express.js APIs for Admin Panel and Website: Keep Admin & User Worlds Separate (and Clean!)

Ever tried building a web app and ended up with admin and user routes all jumbled together in one file?
Yeah, me too. 😅 It starts out fine — until you're 100+ lines deep in app.js, with /login, /admin/dashboard, /user/profile, /admin/settings, and everything else floating around like a digital junk drawer.
So here’s the game plan:
Let’s create two clean, separate API systems using Express.js — one for the admin panel, one for the user-facing website.
✅ Clean structure
✅ Better security
✅ Easier to scale
✅ Happier future-you
🧠 Why Two APIs?
Here’s the big idea:
| Feature | Admin Panel | User Website |
|---|---|---|
| Access Level | Internal (admins only) | Public (authenticated users) |
| Responsibilities | User management, analytics, etc. | Login, signup, user dashboards |
| URL Prefix | /api/admin/... |
/api/user/... |
Keeping these separated makes permissions easier, testing cleaner, and scaling smoother.
🧱 Folder Structure That Works
Here’s how we’ll organize everything:
project-root/
│
├── controllers/
│   ├── admin/
│   │   └── adminController.js
│   └── user/
│       └── userController.js
│
├── routes/
│   ├── adminRoutes.js
│   └── userRoutes.js
│
├── middlewares/
│   └── auth.js
│
├── models/
│   └── User.js
│
├── config/
│   └── db.js
│
├── app.js
└── server.js
🛠️ Step-by-Step Setup
1. Connect MongoDB
config/db.js
const mongoose = require('mongoose');

const connectDB = async () => {
  try {
    await mongoose.connect(process.env.MONGO_URI);
    console.log('MongoDB connected');
  } catch (error) {
    console.error('Mongo error:', error.message);
    process.exit(1);
  }
};

module.exports = connectDB;
2. Create a Simple User Model
models/User.js
const mongoose = require('mongoose');

const userSchema = new mongoose.Schema({
  name: String,
  email: { type: String, unique: true },
  password: String,
  role: { type: String, enum: ['user', 'admin'], default: 'user' }
});

module.exports = mongoose.model('User', userSchema);
3. Auth Middleware to Protect Routes
middlewares/auth.js
const jwt = require('jsonwebtoken');

exports.protect = (roles = []) => {
  return (req, res, next) => {
    const token = req.headers.authorization?.split(' ')[1];
    if (!token) return res.sendStatus(401);

    try {
      const decoded = jwt.verify(token, process.env.JWT_SECRET);
      if (!roles.includes(decoded.role)) return res.sendStatus(403);
      req.user = decoded;
      next();
    } catch {
      res.sendStatus(401);
    }
  };
};
4. Create Admin API Routes
routes/adminRoutes.js
const express = require('express');
const router = express.Router();
const { protect } = require('../middlewares/auth');
const { listUsers, deleteUser } = require('../controllers/admin/adminController');

// Only accessible by 'admin'
router.get('/users', protect(['admin']), listUsers);
router.delete('/user/:id', protect(['admin']), deleteUser);

module.exports = router;
controllers/admin/adminController.js
const User = require('../../models/User');

exports.listUsers = async (req, res) => {
  const users = await User.find({ role: 'user' });
  res.json(users);
};

exports.deleteUser = async (req, res) => {
  await User.findByIdAndDelete(req.params.id);
  res.json({ message: 'User deleted' });
};
5. Create User API Routes
routes/userRoutes.js
const express = require('express');
const router = express.Router();
const { protect } = require('../middlewares/auth');
const { getProfile } = require('../controllers/user/userController');

router.get('/profile', protect(['user', 'admin']), getProfile);

module.exports = router;
controllers/user/userController.js
const User = require('../../models/User');

exports.getProfile = async (req, res) => {
  const user = await User.findById(req.user.id).select('-password');
  res.json(user);
};
6. Combine Routes in Your App
app.js
const express = require('express');
const app = express();
const adminRoutes = require('./routes/adminRoutes');
const userRoutes = require('./routes/userRoutes');
const connectDB = require('./config/db');
require('dotenv').config();

connectDB();

app.use(express.json());

app.use('/api/admin', adminRoutes);
app.use('/api/user', userRoutes);

module.exports = app;
server.js
const app = require('./app');

const PORT = process.env.PORT || 5000;
app.listen(PORT, () => {
  console.log(`Server running on port ${PORT}`);
});
🧪 Sample Requests (Postman Friendly!)
🔐 Admin Panel
GET /api/admin/users— List all usersDELETE /api/admin/user/:id— Delete a user
👤 User Website
GET /api/user/profile— Get logged-in user's profile
Use Bearer token headers to test JWT-based routes.
💡 Bonus Tips
🔐 Pro Tip: Never share admin routes with your frontend. Keep them behind an internal admin dashboard UI.
🧩 Scalability Tip: Later, you can host admin APIs on a different subdomain or server entirely (
admin.api.myapp.comvsapi.myapp.com).
🙋♀️ FAQ
Q1: Can I use the same login route for both admin and user?
Yes! Just assign roles (admin, user) when creating accounts and check them in middleware.
Q2: How do I protect the admin dashboard from users?
Use the protect(['admin']) middleware — it filters access based on roles in the JWT.
Q3: Is it okay to mix admin and user APIs in one file?
You can, but separating them makes your code cleaner, safer, and more scalable.
What’s Your Setup?
How are you handling admin vs. user APIs in your app? Still got everything lumped into one giant file? 😅 Or did you build a beautiful, separate system?
👇 Drop your thoughts, setups, or struggles in the comments — let’s help each other grow.
Projects to explore next
Source-code projects from the KritiMyantra catalogue. Check each project's details before buying.
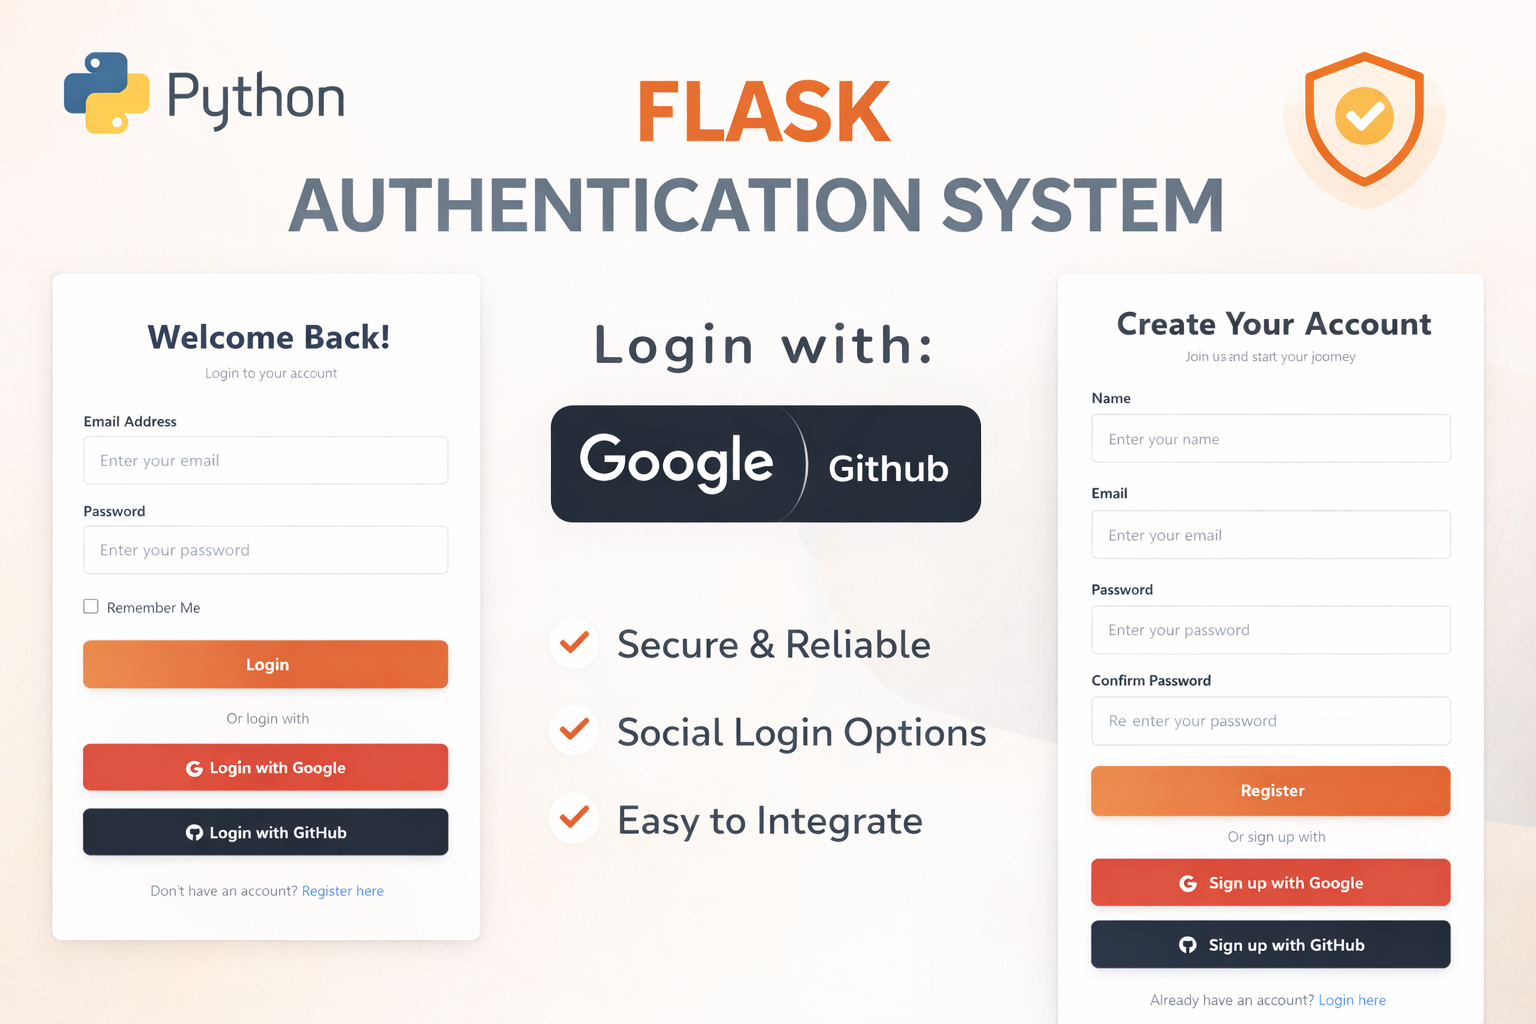
Flask Authentication System (Free Version) - Kritim Yantra
🛠 Features✔ Google & GitHub Authentication✔ User Registration & Login✔ Profile/Dashboard Access✔ Secure & Mi...

Flask Blog CMS with Admin Dashboard — Python Source Code
A Flask-based blogging website with a built-in admin dashboard. Manage articles, images, categories, tags and featured p...
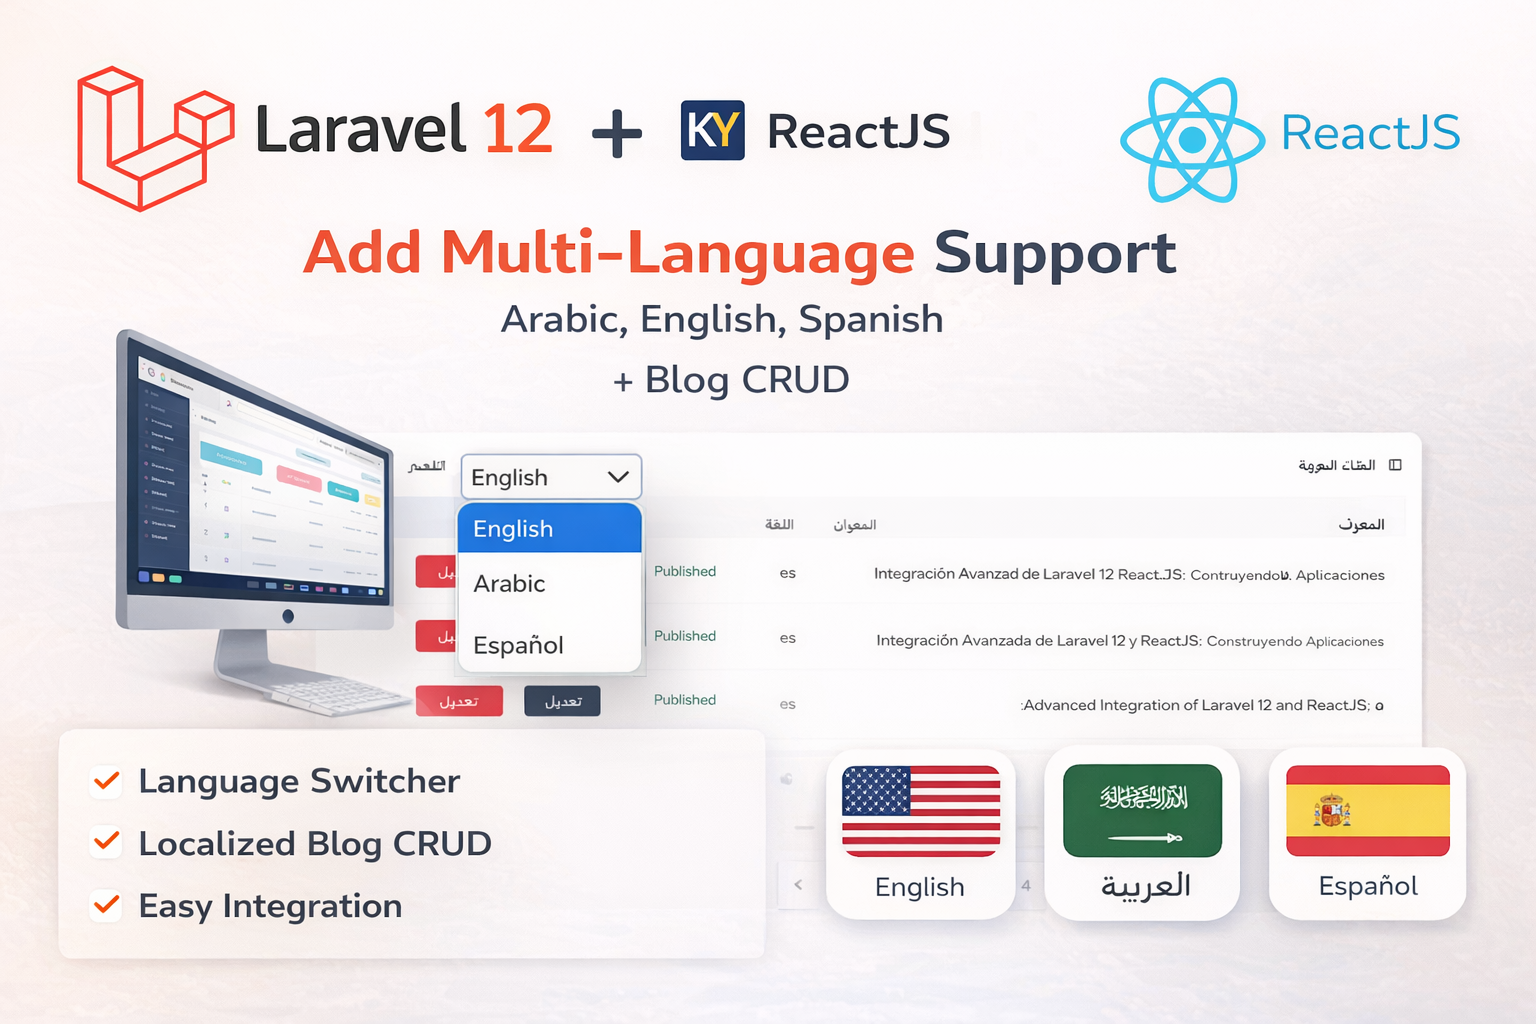
Laravel 12 + ReactJS Starter Kit: Add Multi-Language Support (Arabic, English, Spanish) with Blog CRUD
🚀 Installation & Setup Download & Extract Get the ZIP from kritimyantra.com and extract it. Includes preconfigu...
The Ultimate Express.js Project Structure Setup for Scalable Apps
Ever opened an Express project and felt like you were lost in a maze of random files? 🧐 Maybe you’ve seen tutorials where everyth...
The Complete Joi Validation Guide for Express.js (2025)
Ever built an API only to realize users are sending garbage data? 😤 "age": "not a number" "email": "definitelyNotAnEmail" "passwo...
How to Design a Real-Time Chat System with MongoDB and Express.js (2025 Guide)
📱 “Can you build a chat app?” That’s a question you’ve probably heard—or Googled—if you’re diving into full-stack development. He...
Comments
No comments yet. Be the first to comment.
Sign in to join the discussion.