
Build a Full To-Do App with Next.js and MongoDB (The Easy Way)

If you've ever started building a simple to-do list and thought, “I want to save tasks for real users — but I have no idea how to set up a database with Next.js”, trust me: you’re not alone.
A lot of beginner devs (me included back in the day) struggle with this part.
The good news? You don’t need to know backend engineering to build a real full-stack app with Next.js and MongoDB.
In this step-by-step guide, we’re going to build a complete To-Do app that:
- Uses Next.js for the frontend and backend
- Stores tasks in a MongoDB database
- Can create, read, update, and delete tasks (yes, CRUD!)
Let’s do this — in plain, simple terms. 💪
🧰 What You’ll Need
- Basic React knowledge (Next.js is built on it)
- Node.js installed
- MongoDB account (free)
🪄 Step 1: Create Your Next.js App
Open your terminal and run:
npx create-next-app@latest nextjs-todo-mongodb
Once it’s done:
cd nextjs-todo-mongodb
npm run dev
Now head to http://localhost:3000 — your project is live!
🌱 Step 2: Set Up MongoDB
1. Go to MongoDB Atlas
Create a free account and a new project.
2. Create a Cluster (Shared Tier)
3. Add a Database
- Click “Browse Collections”
- Create a new database:
todoDB - Collection name:
tasks
4. Get Your Connection String
- Go to Database → Connect → Connect with Application
- Copy the URI (it will look like this):
mongodb+srv://<username>:<password>@cluster0.mongodb.net/?retryWrites=true&w=majority
👉 Replace <username> and <password> with your MongoDB credentials.
🔒 Step 3: Add Environment Variables
In your project root, create a file:
touch .env.local
Add this:
MONGODB_URI=mongodb+srv://your_username:your_password@cluster0.mongodb.net/todoDB?retryWrites=true&w=majority
✅ Pro Tip: Never hard-code credentials in your code. Always use environment variables.
🔌 Step 4: Connect to MongoDB
Install the official MongoDB driver:
npm install mongodb
Then, create a folder:
mkdir lib
touch lib/mongodb.js
Inside lib/mongodb.js:
import { MongoClient } from 'mongodb';

const uri = process.env.MONGODB_URI;
const options = {};

let client;
let clientPromise;

if (!process.env.MONGODB_URI) {
  throw new Error('Please add your Mongo URI to .env.local');
}

if (process.env.NODE_ENV === 'development') {
  // Reuse connection in dev mode
  if (!global._mongoClientPromise) {
    client = new MongoClient(uri, options);
    global._mongoClientPromise = client.connect();
  }
  clientPromise = global._mongoClientPromise;
} else {
  // New connection in production
  client = new MongoClient(uri, options);
  clientPromise = client.connect();
}

export default clientPromise;
🧠 Step 5: Create API Routes (CRUD)
Let’s make an API that can talk to MongoDB.
Create a file:
mkdir pages/api/tasks
touch pages/api/tasks/index.js
pages/api/tasks/index.js (GET + POST)
import clientPromise from '../../../lib/mongodb';

export default async function handler(req, res) {
  const client = await clientPromise;
  const db = client.db('todoDB');
  const collection = db.collection('tasks');

  if (req.method === 'GET') {
    const tasks = await collection.find({}).toArray();
    res.json(tasks);
  }

  if (req.method === 'POST') {
    const { title } = req.body;
    const result = await collection.insertOne({ title });
    res.json(result);
  }
}
Create DELETE Route
pages/api/tasks/[id].js:
import clientPromise from '../../../lib/mongodb';
import { ObjectId } from 'mongodb';

export default async function handler(req, res) {
  const client = await clientPromise;
  const db = client.db('todoDB');
  const collection = db.collection('tasks');

  const id = req.query.id;

  if (req.method === 'DELETE') {
    const result = await collection.deleteOne({ _id: new ObjectId(id) });
    res.json(result);
  }
}
🎨 Step 6: Build the Frontend
Replace everything in pages/index.js with:
import { useEffect, useState } from 'react';

export default function Home() {
  const [tasks, setTasks] = useState([]);
  const [title, setTitle] = useState('');

  useEffect(() => {
    fetchTasks();
  }, []);

  const fetchTasks = async () => {
    const res = await fetch('/api/tasks');
    const data = await res.json();
    setTasks(data);
  };

  const addTask = async () => {
    await fetch('/api/tasks', {
      method: 'POST',
      headers: { 'Content-Type': 'application/json' },
      body: JSON.stringify({ title }),
    });
    setTitle('');
    fetchTasks();
  };

  const deleteTask = async (id) => {
    await fetch(`/api/tasks/${id}`, {
      method: 'DELETE',
    });
    fetchTasks();
  };

  return (
    <div style={{ padding: 40 }}>
      <h1>📝 To-Do App</h1>
      <input
        value={title}
        onChange={(e) => setTitle(e.target.value)}
        placeholder="New Task"
      />
      <button onClick={addTask}>Add</button>

      <ul>
        {tasks.map((task) => (
          <li key={task._id}>
            {task.title}{' '}
            <button onClick={() => deleteTask(task._id)}>❌</button>
          </li>
        ))}
      </ul>
    </div>
  );
}
🚀 Step 7: Deploy on Vercel
- Push your code to GitHub
- Go to vercel.com
- Import the project
- Add your
MONGODB_URIin Vercel environment variables - Deploy!
Done 🎉 — your full-stack app is live!
✅ What You Just Built
- 🧠 A full CRUD to-do app with Next.js and MongoDB
- 🧩 Serverless API endpoints
- 💾 Persistent task storage
- 🌍 Deployable in one click with Vercel
🔥 Real-World Benefits
- Faster dev workflow (no need to build a separate backend)
- Scalable with serverless architecture
- Cleaner code separation with built-in API routes
💬 Beginner FAQ
1. Do I need a backend framework like Express?
Nope! Next.js API routes act as your backend.
2. Is MongoDB free?
Yes! The shared tier on MongoDB Atlas is great for learning and small apps.
3. Can I host this without Vercel?
Yes, but Vercel makes it easier. You can also deploy via Netlify or even Docker if you prefer.
🎉 Your Turn!
Have you built something cool with Next.js and MongoDB?
Ran into any roadblocks along the way?
👇 Drop your questions, bugs, or even your finished projects in the comments!
Projects to explore next
Source-code projects from the KritiMyantra catalogue. Check each project's details before buying.
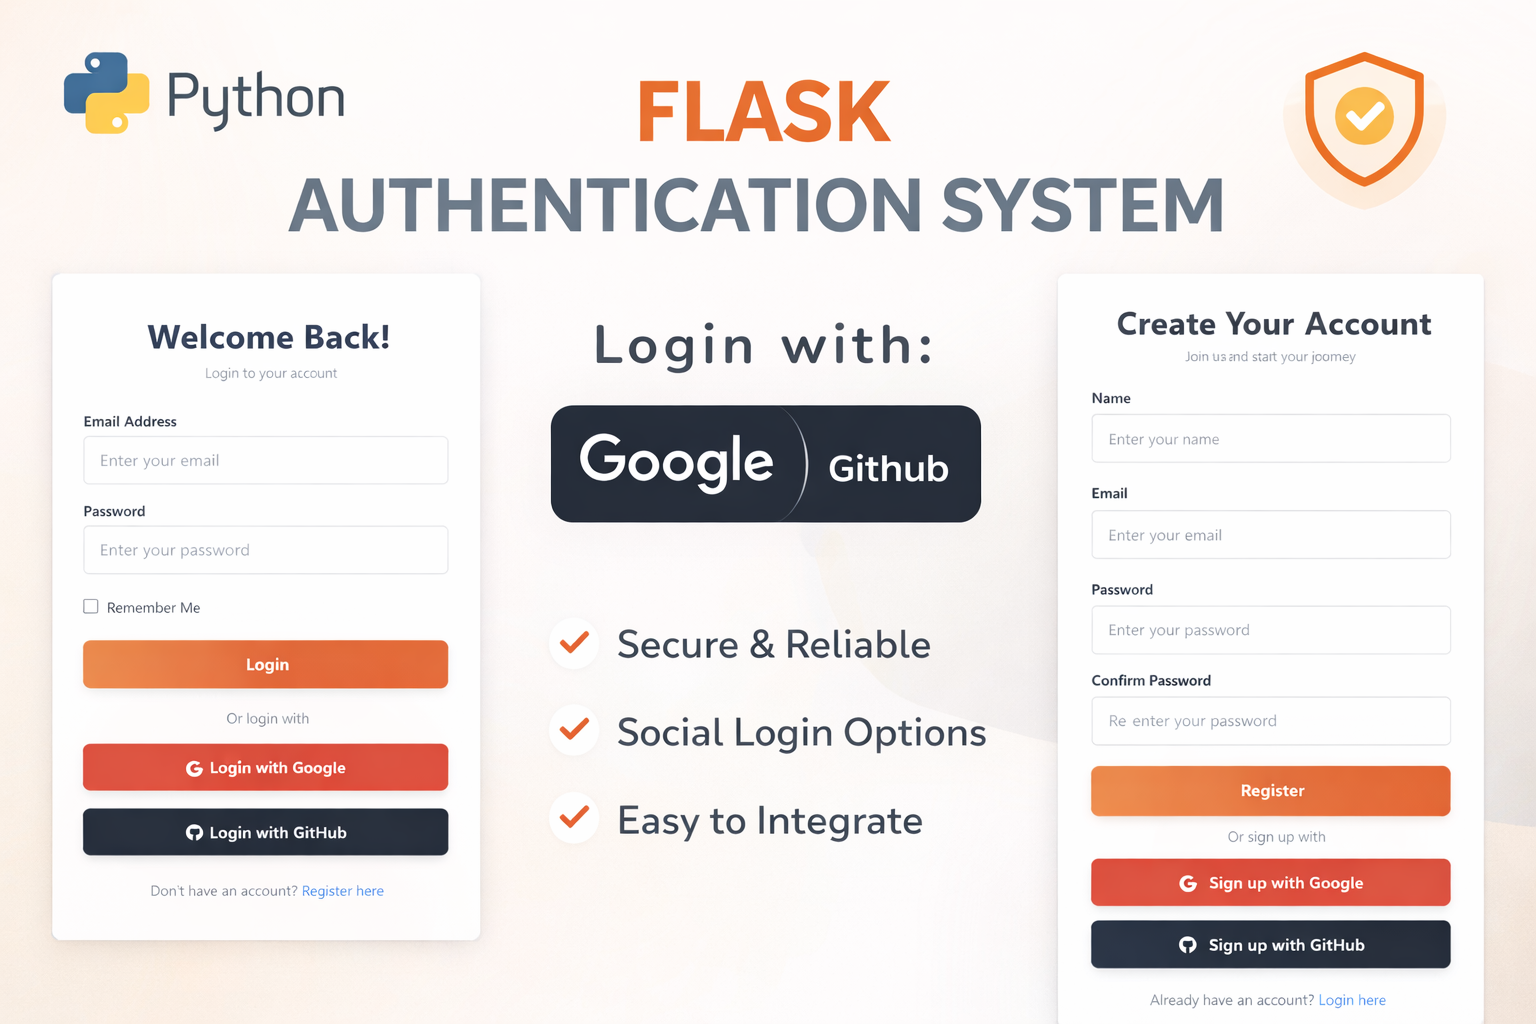
Flask Authentication System (Free Version) - Kritim Yantra
🛠 Features✔ Google & GitHub Authentication✔ User Registration & Login✔ Profile/Dashboard Access✔ Secure & Mi...
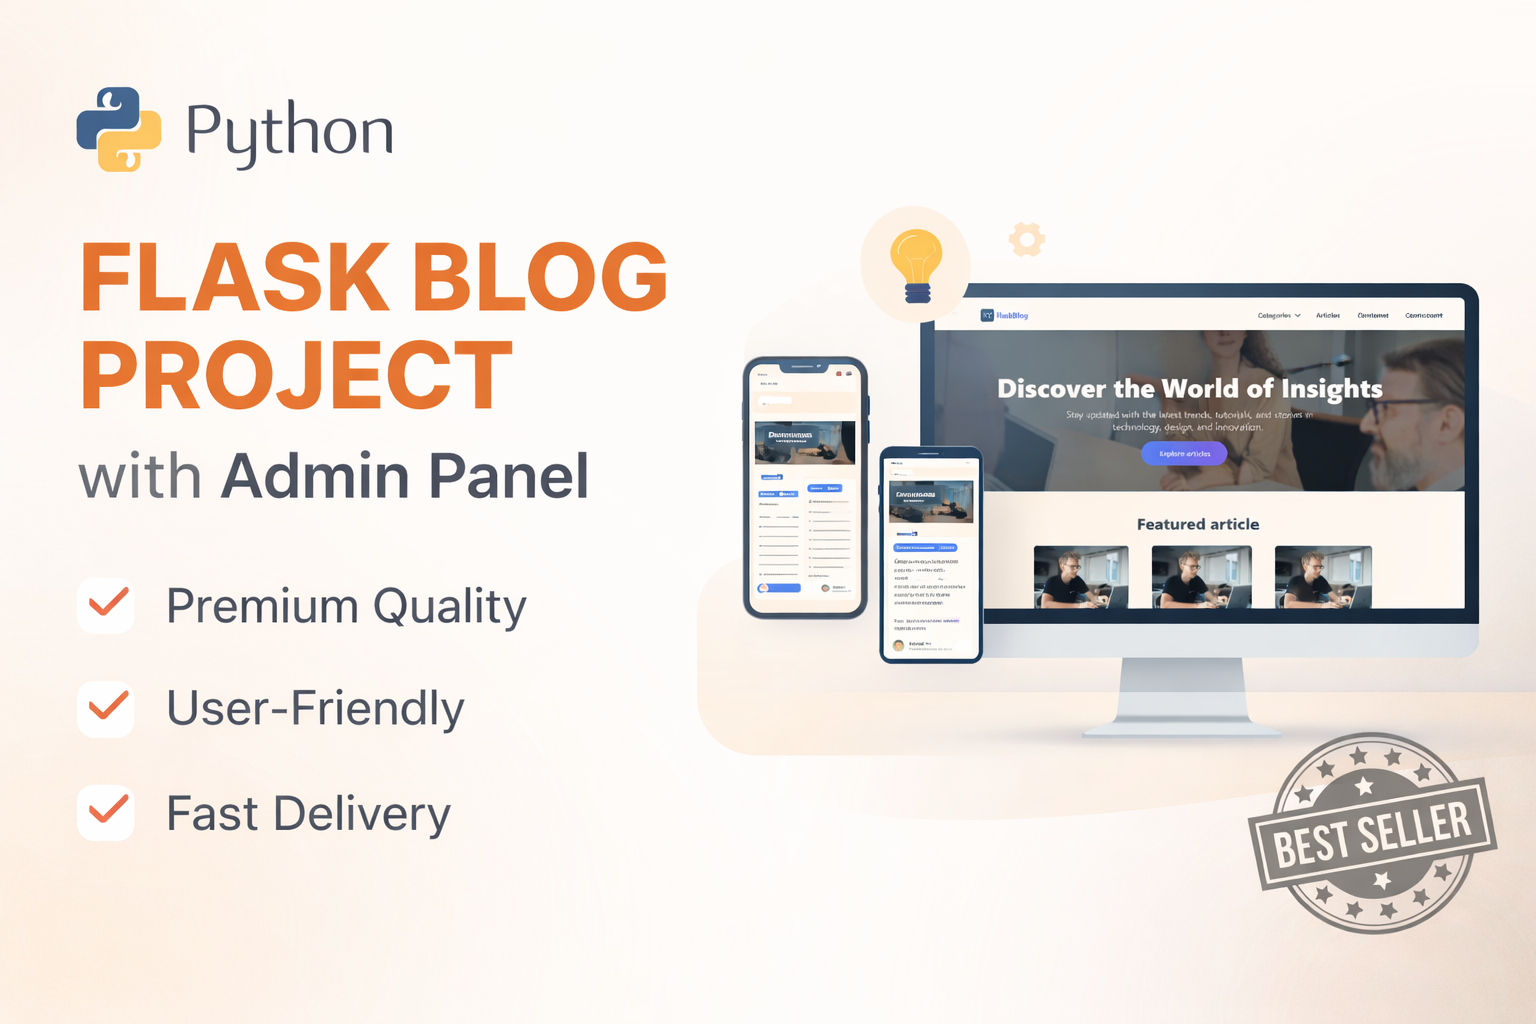
Flask Blog CMS with Admin Dashboard — Python Source Code
A Flask-based blogging website with a built-in admin dashboard. Manage articles, images, categories, tags and featured p...
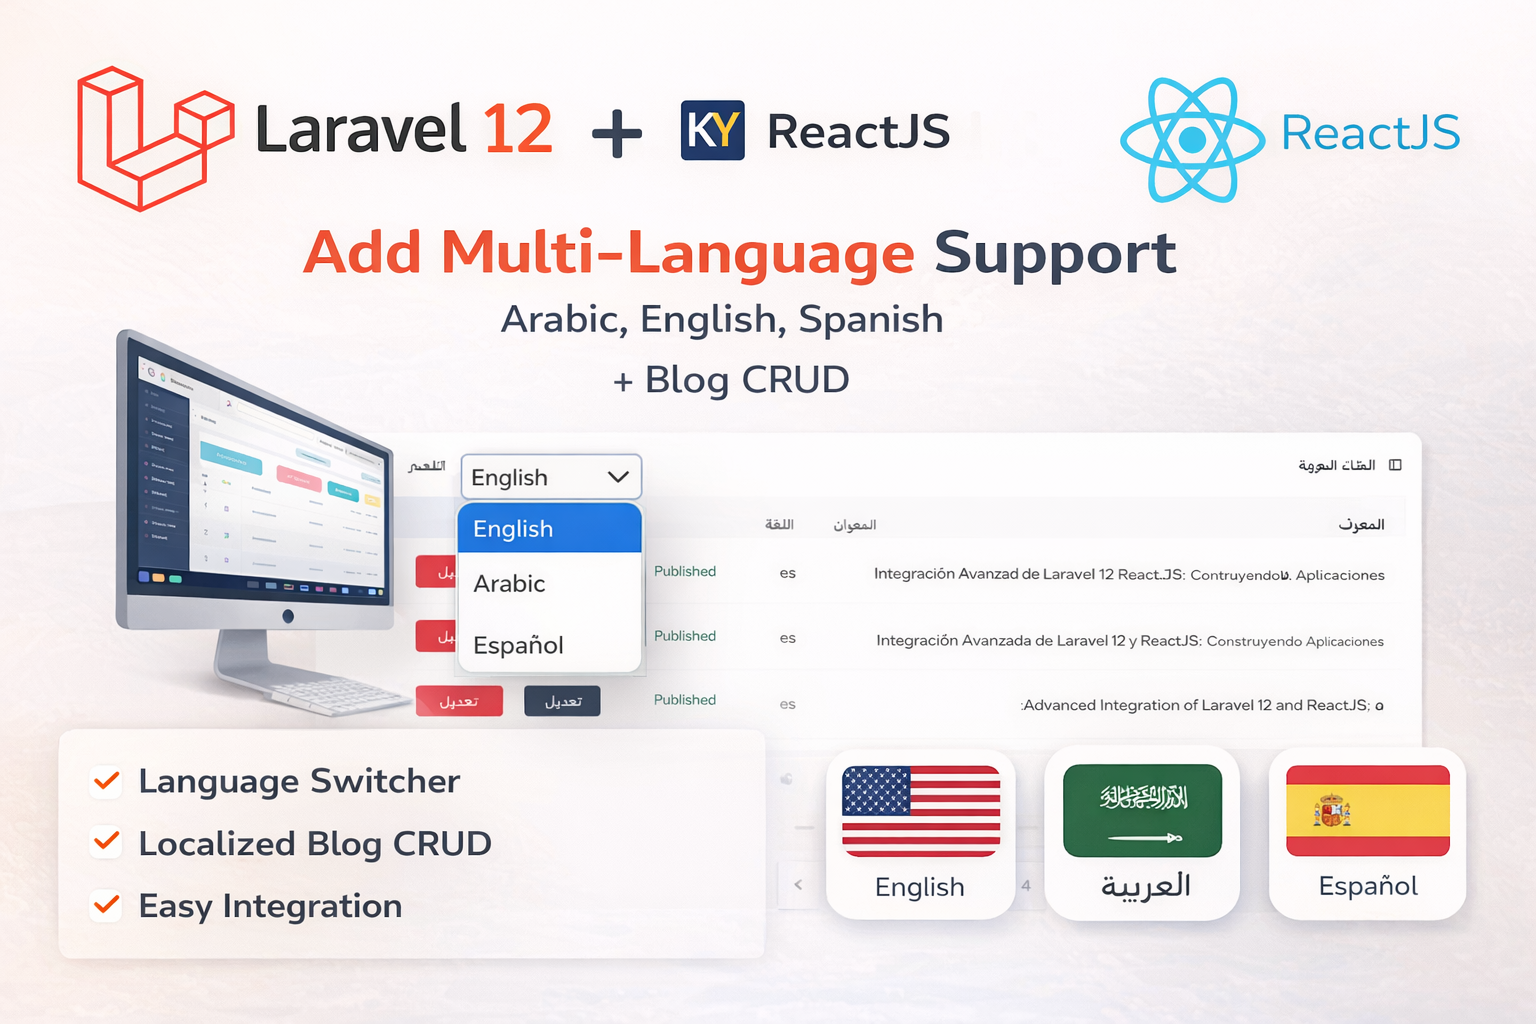
Laravel 12 + ReactJS Starter Kit: Add Multi-Language Support (Arabic, English, Spanish) with Blog CRUD
🚀 Installation & Setup Download & Extract Get the ZIP from kritimyantra.com and extract it. Includes preconfigu...
What Problem Is Inertia.js Solving for Developers?
If you've ever built a modern web app, you know the struggle: "Should I use a traditional server-rendered framework like Laravel/R...
Firestore with React: Build Realtime CRUD Apps in 2025
Ever built a to-do app that doesn’t update instantly when you add a task? Feels like sending a letter 🏷️ instead of a text 📲, rig...
Express.js with GraphQL: A Beginner’s Friendly Guide
Imagine this: you’ve just built your very first Node.js API with Express.js. You’re feeling like a rockstar… until your client say...
Comments
No comments yet. Be the first to comment.
Sign in to join the discussion.